Chapter 3 - Practice Pieces
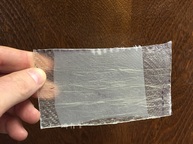
First Layup - 2Ply BID with partial peel ply
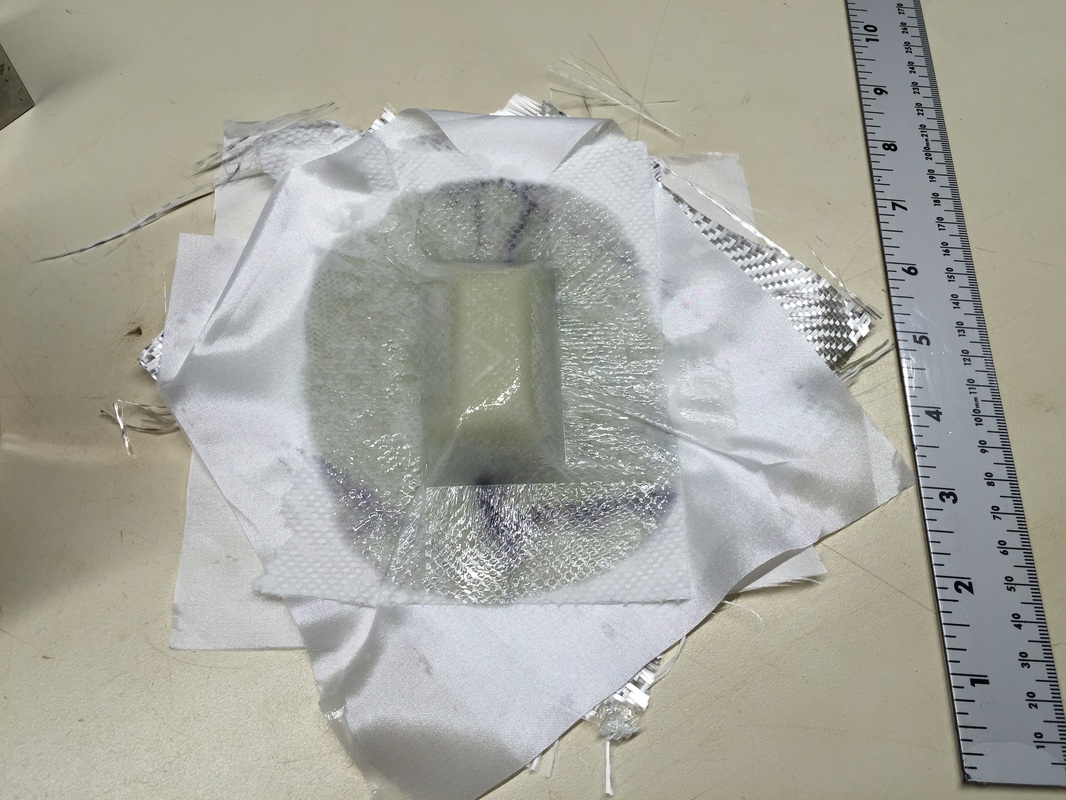
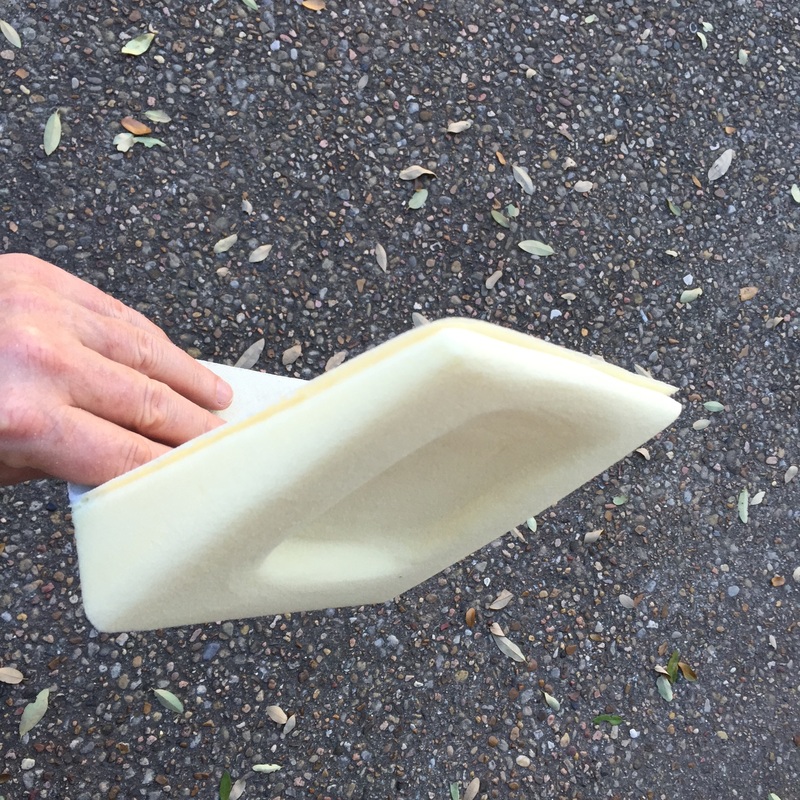
First Vacuum Bagged Practice Part - prior to trimming
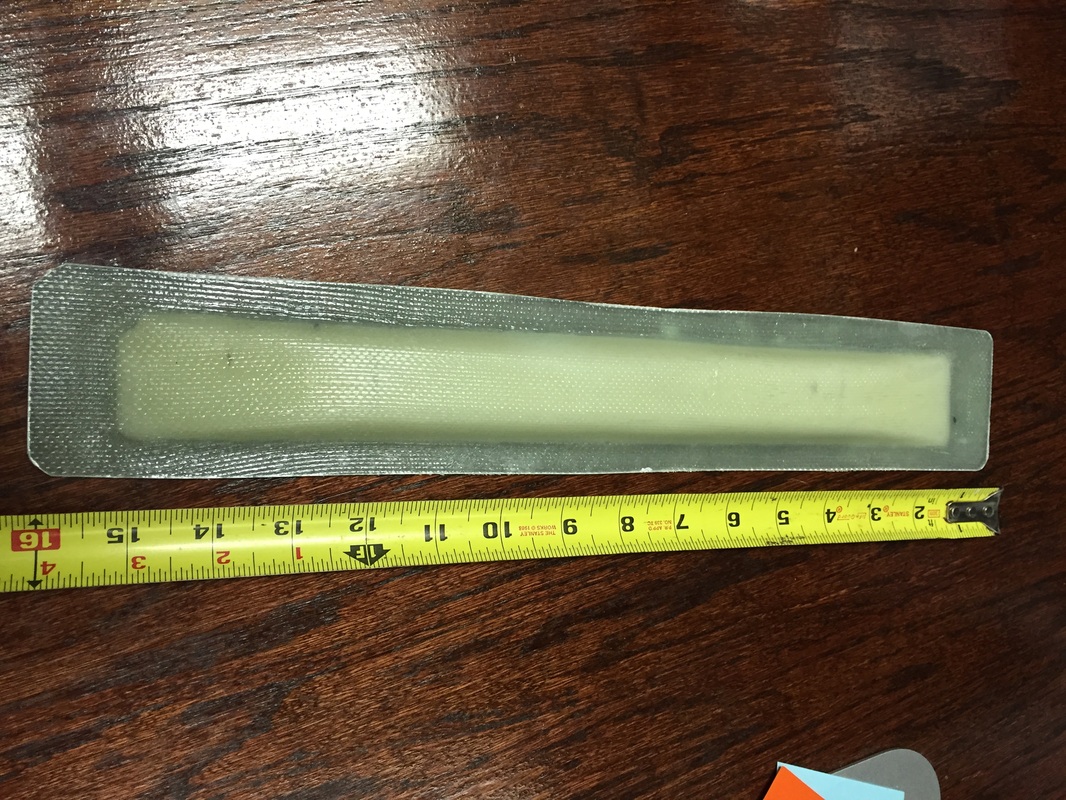
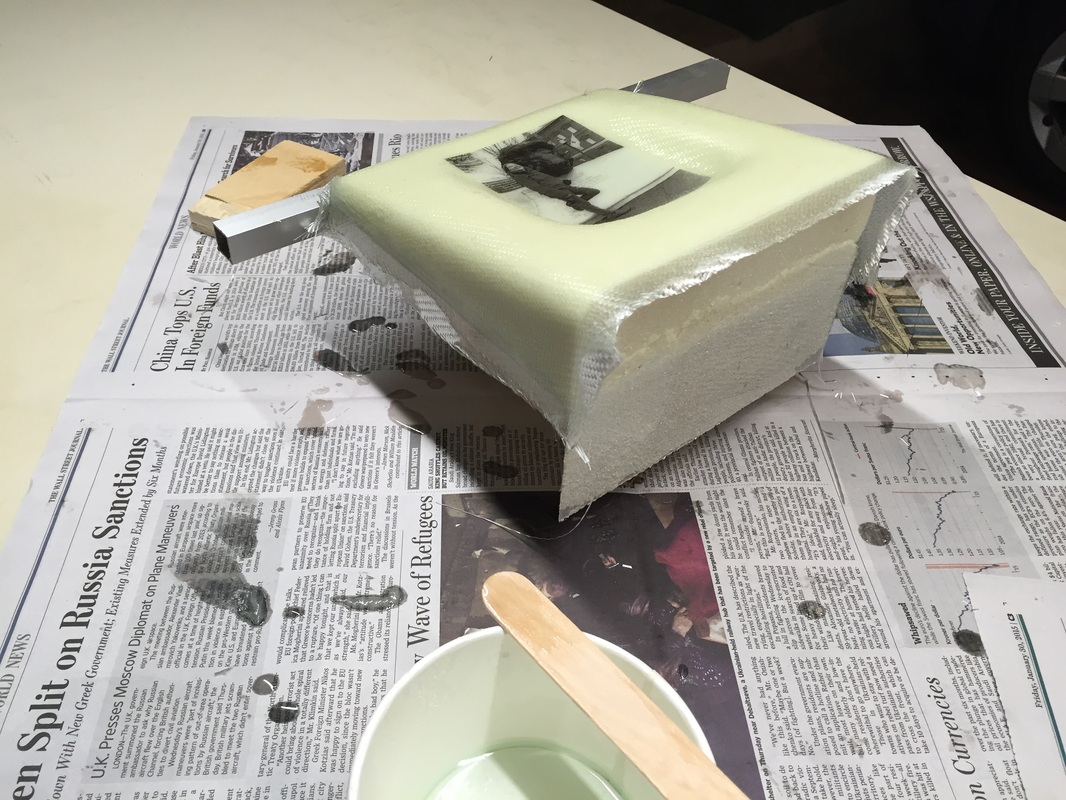
Confidence Layup
|
Practice layups:
My first layups were small trials with a couple of ply's of BID to get used to several things: - wetting glass at different temperatures (it was unseasonably cool this winter when I got started and my garage is not heated, so I was picking days at 60 to 65 degree's to start this process). I knew it wasn't ideal, but figured I could make better parts with experience when it got warmer. This also let me get acquainted with using peel ply, which I had not used before, and pallet wrap (as a protection layer to the workbench. I know it's not perfect because there are "outside ply" effects in scaling but I still calculated a per ply, per square inch target weight based on the practice layup to gage the general lightness of my flat layups in these early stages. My practice 2 ply 5 square inch layups scaled about 10% heavy. - After building the Confidence Layup below, I also began experimenting with the poor man's vacuum bag technique as shown to me by Ben Bennett and documented elsewhere in the building sites. I was particularly interested in it's ability to help in preventing bubbles, particularly in concave corners like near the flange/stiffener of the confidence piece I made which had a couple of small bubbles that I was unsuccessful in removing (no bubbles with the vacuum bag). I also liked the ability to put some paper towels between the peel ply and the saran wrap (I used pallet wrap - big and cheep from packing supply store) to pull some epoxy through the peel ply without danger of letting air into the layup. I found with this part that you must think through how the "bag" is supported, because in this case the uncured 2 ply's below the raised foam ridge and the uncured 2 ply's above were not able to sustain a flat shape when the vacuum was applied. I alleviated this somewhat by using weighted flat plates on the flanges but it would have been perhaps better to have used clamped flat plates to insure really flat while the epoxy cured. Another good option is to cure the flat backing as a flat piece and then cure the foam and upper plies to this flat cured back piece with vacuum (but I've not tried this yet). I know I can't bag everything, but it's good to get some experience with it and have it as an option for some small/simple pieces. Confidence Layup: I fabricated the confidence layup per the plans and learned the following: It was my first time working with the urethane foam and using wet micro to wipe it down before applying the regular epoxy and fabric.
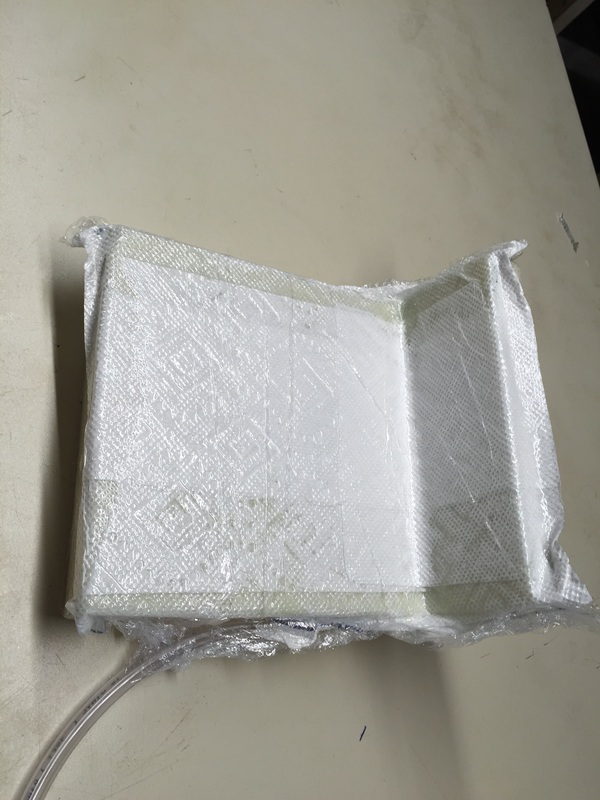
Bookend: I did a number of things differently for this practice part, while still following the plans and intent to grow the complexity of my practice for parts to come. A list of things I did are listed below:
|
OK. Let's look at the early parts of the build in Ch 4-7.