Ch 25.2 Interior Finishing
|
Fixing lots of things to get ready to paint interior:
I'm doing a lot of little things to get ready to pain the interior (while working on final fuel tank seals and getting set up to prime the canard with an air spray gun (which I have to learn how to use). This is the first painting I'd done on the Cozy, and like everything else, I learned a lot. There's a lot of preparation to for painting the interior, and part of my motivation was to do it before starting the wiring. There's of course a tradeoff here, because I'm loosing access to the bare epoxy for bonding things, so I put a concentrated effort over a few weeks to get all the finish pieces (arm rests, rear seats, consoles, etc) done and fitted before starting the paint. I know I didn't get everything, but it was a good thrust to take on for the benefit of getting an early look at the cockpit/seating/finish, and see what I might want to change later. I'm documenting most of this activity in Ch 24. I also removed the brake system up front. I tried out my interior color scheme first in the baggage compartment before I put the top skin on. I knew it would be the best time for easy spray access in this area, and it would give me a chance to change it later if I didn't like it. I liked it fine so I'm giving it a try throughout. Note that I'm doing this a little early (as the strakes are getting finished up, so I have lots of time to get used to it while running electrical wiring etc. If I find I don't like it or there's some issue, I can re-do it later before closing everything up. Here's the method I used, allowing each layer to cure/dry before applying the next.
UPDATE on COLOR: I discovered a big part of why my paint scheme wasn't hiding the seams and glass weave texture when I went back to re-paint some spots that already had the hammered paint on them with the coarse texture underneath: I wasn't leveraging the color enough from the texture. When I sprayed a little of the Charcoal Sand colored Krylon Stone Coarse Texture OVER the hammered paint it looked great and hid everything! SO: I adjusted my paint schedule for the rear cockpit area:
NOTE: I still have all electrical and engine integration so I'm climbing in and out a lot. I use a thick sheet on the floor in hopes that it will prevent wear from my shoes before I even get to fly. I find that I need to get in the back seat area much more than the front seats, because I can reach into the front area from the sides, but it's much harder for the back seat/firewall area with the strakes now on... |
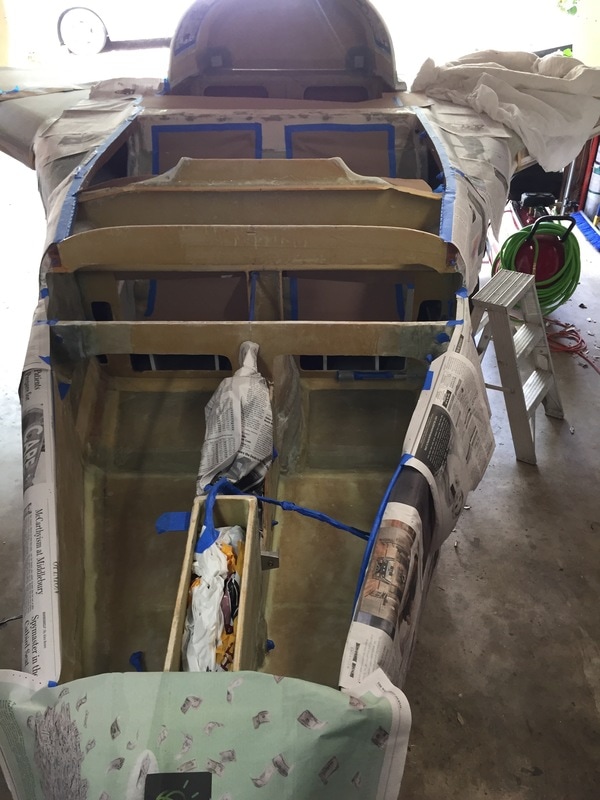
Here's a look at the masking process before I prime and paint for forward portion of the interior
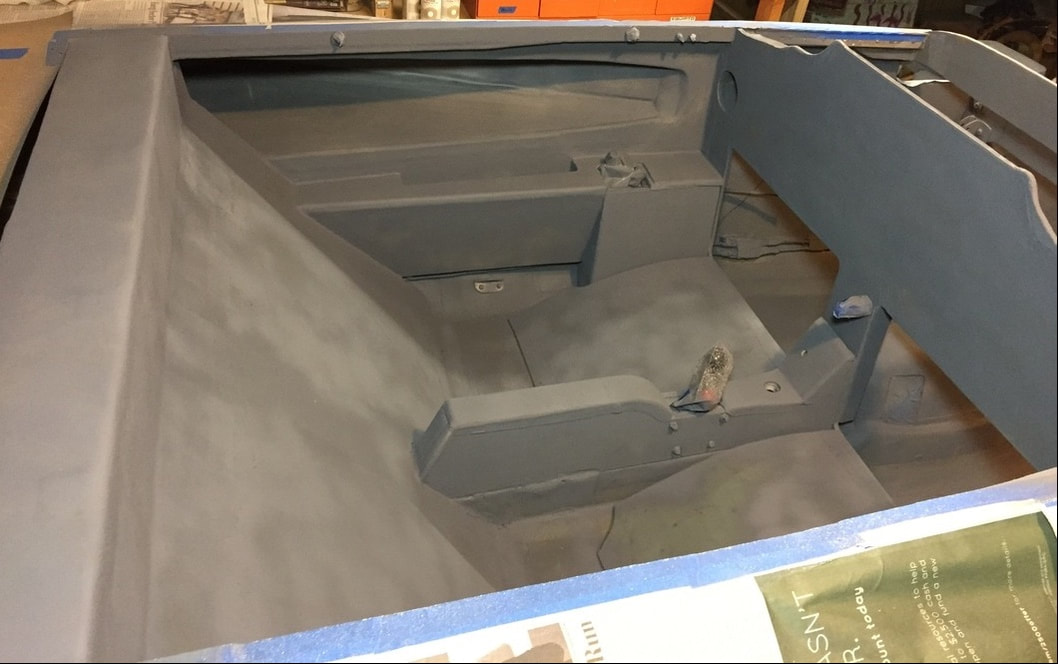
Front seat area after primer...
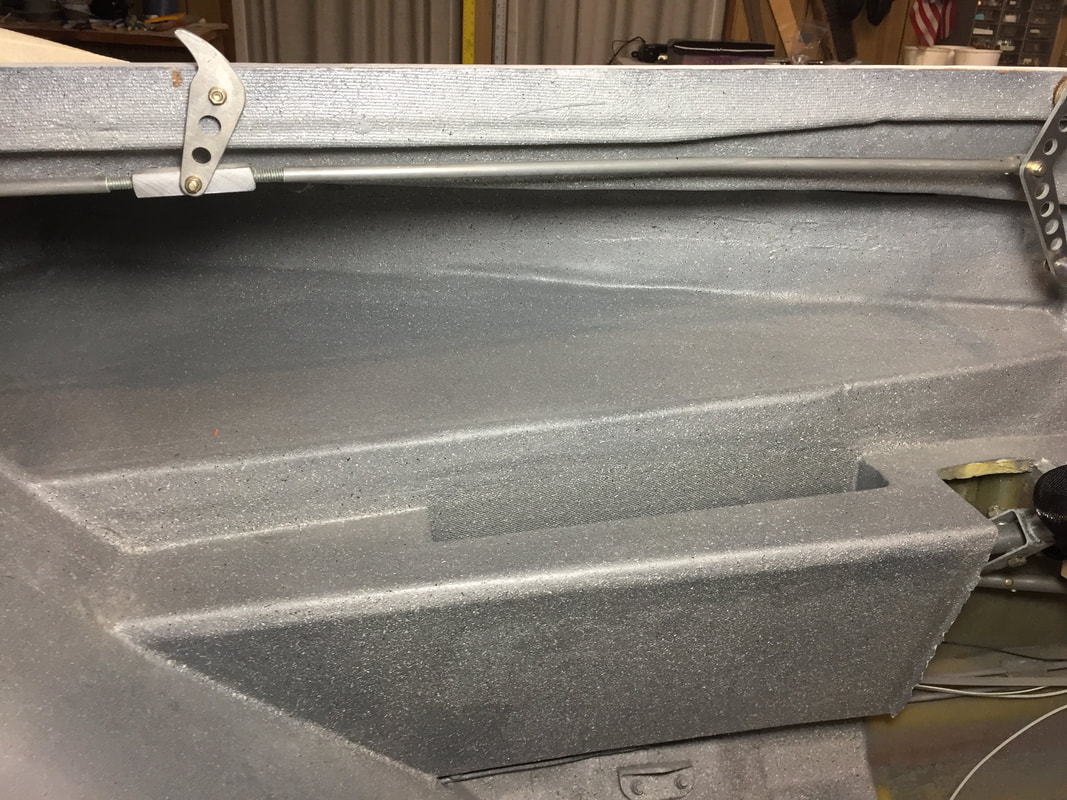
Closer view of the interior after all 4 coatings

The rattle can line-up of what I used on the interior
|