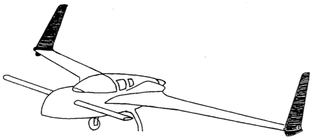
Chapter 20: Rudder Fabrication
|
|
After getting the upper and lower winglets attached it's time to cut out the rudders sections and form them up as real rudders.
|
Cutting out the Rudders:
I used the Eureka cut foam for winglets and when I built them I didn't measure carefully all their dimensions. I didn't realize that the little tip piece was intended to be carved down to form the 1" tall tip described in the plans. So my upper winglets are 3" longer than plans. That's OK, I'm going to make my rudders 3" longer too to keep the proportion and give me a little more control authority in the yaw direction. I also chose to make the upper rudder cut line horizontal both for visual reasons and to better align with flow. After marking and double checking the markings cut the glass with dremel cut will (thin) and used the hacksaw blade to cut the foam. |
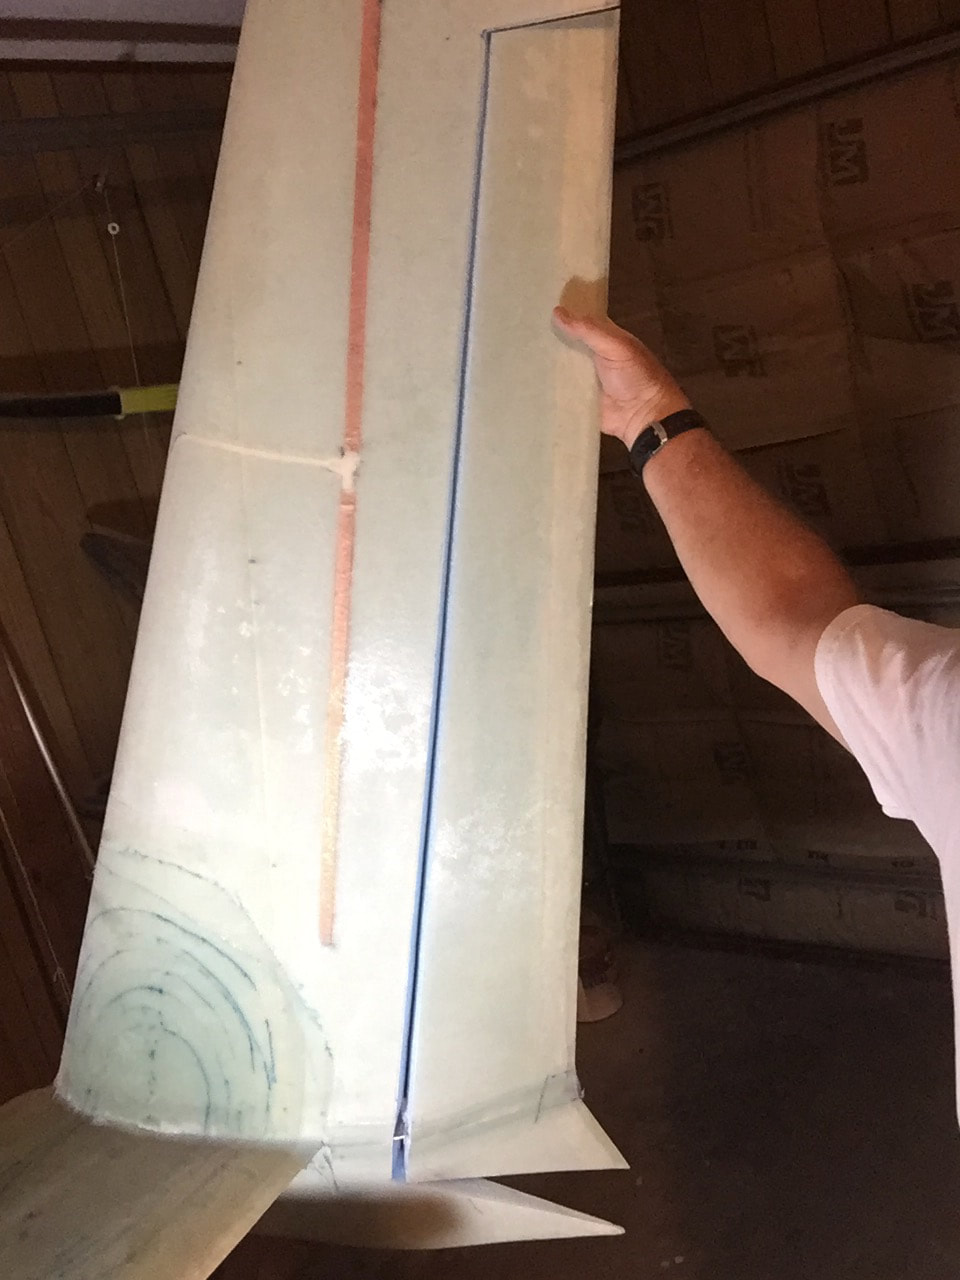
First check that the cut rudder rotates well with the bellhorn inside, about the outside edge
|
Rudder glassing:
I carved out the pocket along the full length of the rudder per plans but did a shallow pocket on the ends since they are thin and tapered. I still glassed in the full 3 ply's of BID and used 1/4" flox corners on these end caps. Of course the 2 ply reinforcement was added at the hinge mount areas. This was just a little tricky because I used the pre-wetting multi-ply technique with peel ply and pallet wrap, but didn't want to add the extra 2 plies until this layup was in (so I could perfectly align it with marks in the rudder itself). It just means I had to lift the peel ply once and put the pre-wetted local reinforcement in, then re-cover it up. Mild cat herding...
I carved out the pocket along the full length of the rudder per plans but did a shallow pocket on the ends since they are thin and tapered. I still glassed in the full 3 ply's of BID and used 1/4" flox corners on these end caps. Of course the 2 ply reinforcement was added at the hinge mount areas. This was just a little tricky because I used the pre-wetting multi-ply technique with peel ply and pallet wrap, but didn't want to add the extra 2 plies until this layup was in (so I could perfectly align it with marks in the rudder itself). It just means I had to lift the peel ply once and put the pre-wetted local reinforcement in, then re-cover it up. Mild cat herding...
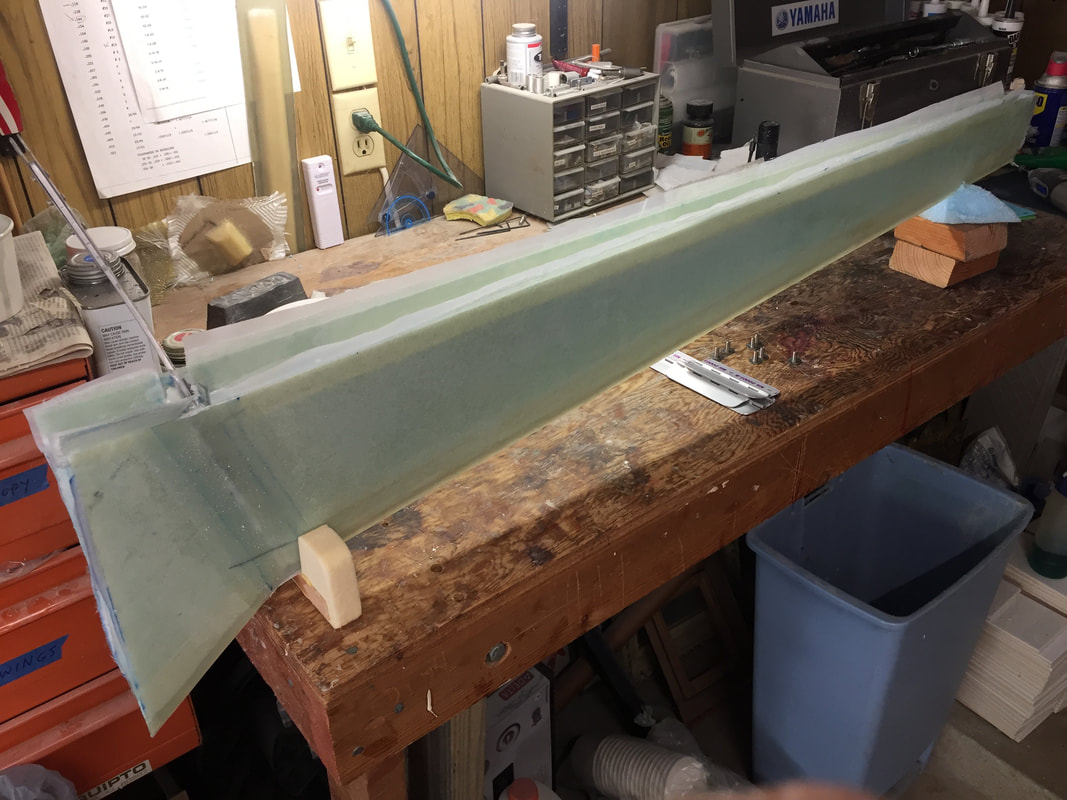
Layups in the rudder pockets with peel ply. Internal bellhorn in edge view on left
|
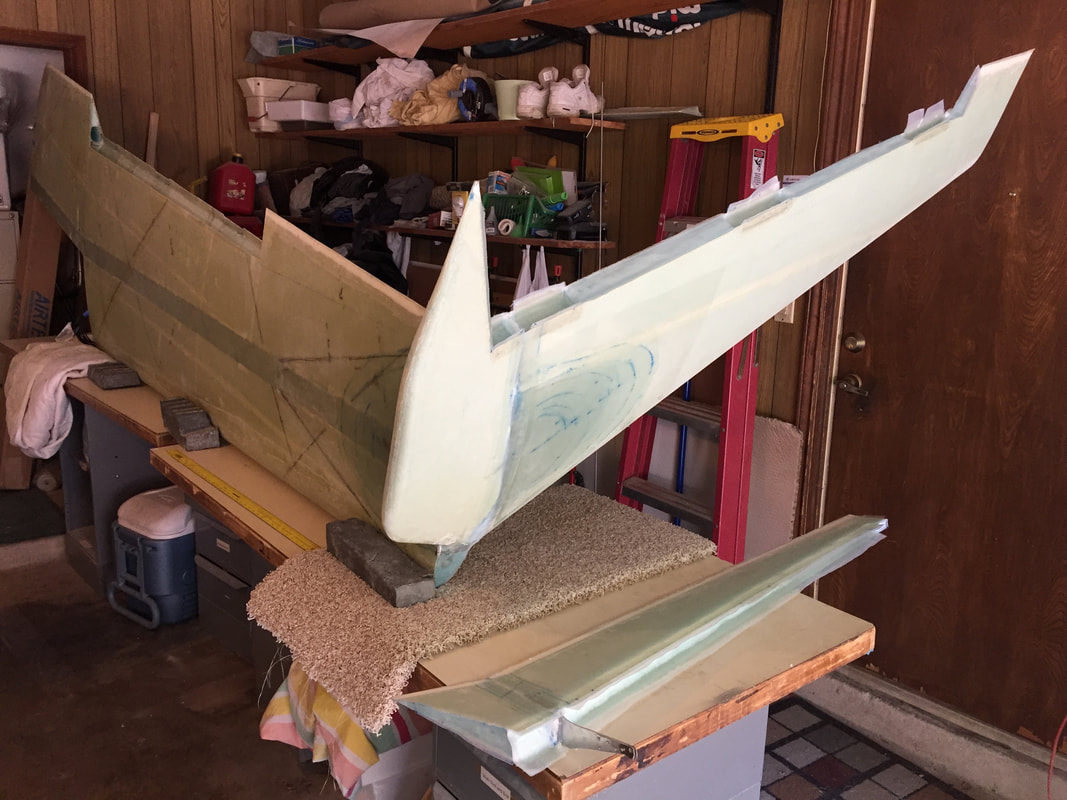
Glassing the winglet for rudder hinges. Note that I only dug the deep pockets in the regions where the hinges will be located. the other areas got 3 BID per plans with good flox corners to the skin. This shows a better view of the internal bellhorn in the rudder on the table.
|
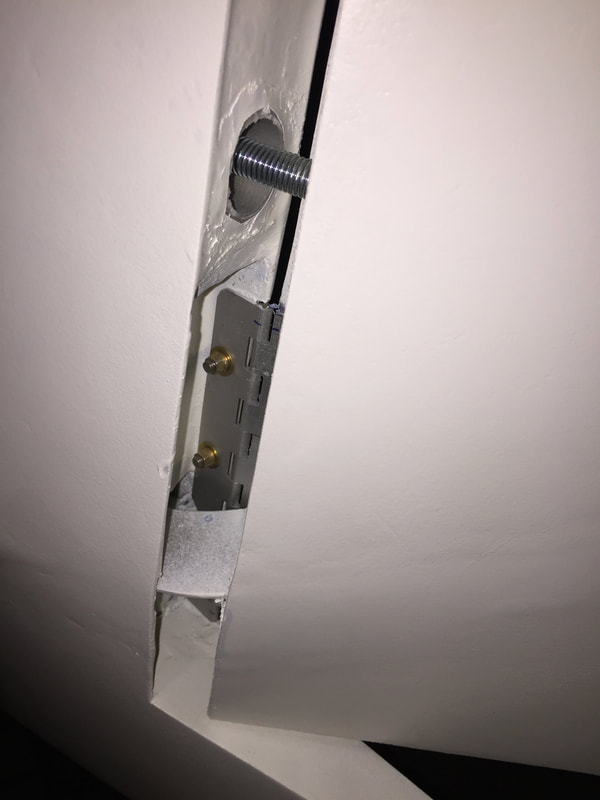
I chose to use click-bond like flush studs on the hinges for the rudder just like I did for the ailerons. I filed the flat portions of the studs so that they were more oblong and therefore can't rotate. Getting the nuts on these studs inside the hinge pockets is going to be a PITA, but the exterior surface should be very smooth. Below are pictures of the hinges when I finally tightened them down, which was after the finishing and priming process, which is documented at the link at the bottom of this page.
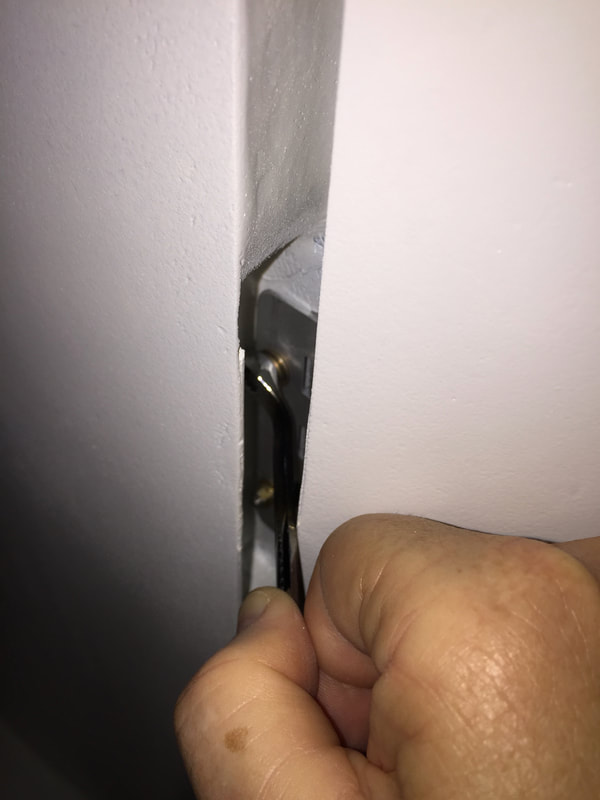
A view of modified 1/4" box end wrench I had to modify to reach in and tighten the hinge nuts. I still need to work on the top most hinge nuts just to get them started... but the fit is very good.
|
Here's what my right internal rudder bellhorn looks like with rudder fully deflected. Also shows the return spring in it's tube and the lower hinge.
|
Once the rudder was completed and hinges attached, I started the finishing process on the wing top and winglet/rudder/aileron combination as described in Ch 25 Finishing Wings.