Ch 25.1 Canard Finishing
|
Canard:
I've been advized to start learning how to do the sanding with the Canard since it's 2 Dimensional, and then progress to the more complex shapes. I made top and bottom sanding blocks that fit the desired canard shape, based on the plans drawings, following Bernie Siu and others. I've got a long roll of 80 grit and 100 grit 3M sticky back sand paper that's 2.5" wide, so I'm making the blocks from 3 layers of 3/4" plywood so they will be 2.1" wide leaving 0.2" paper overhang on each side. I got some terrific help from Alex Marez, who runs the Makerspace Wookshop at UT Austin on making the sanding blocks. I created the Roncz profile splines in Autodesk Fusion 360, by matching plans drawings M-17 Profiles E and F. The profiles were then merged and used to drive an X-Carve CNC mill. The picture to the right shows my laptop driving the X-Carve with Easel software. It was really quite easy and extremely accurate. I checked the pattern back with the drawings and they are perfect. the "X-Carve Pattern" videio to the right shows what the mill looks like cutting the pattern. Unfortunately, when I matched the blocks to the canard, I found low areas near the leading edge that were too deep to just fill. With feedback from the Cozy Builders Group I performed a significant fix on the leading edge (LE) of the canard as described in the next section. Bottom line for new builders: USE EUREKA precision cut blue foam. My wings and winglets are Eureka and they are very well shaped. If inspecting a canard to buy, use profile blocks like this to check it's shape. 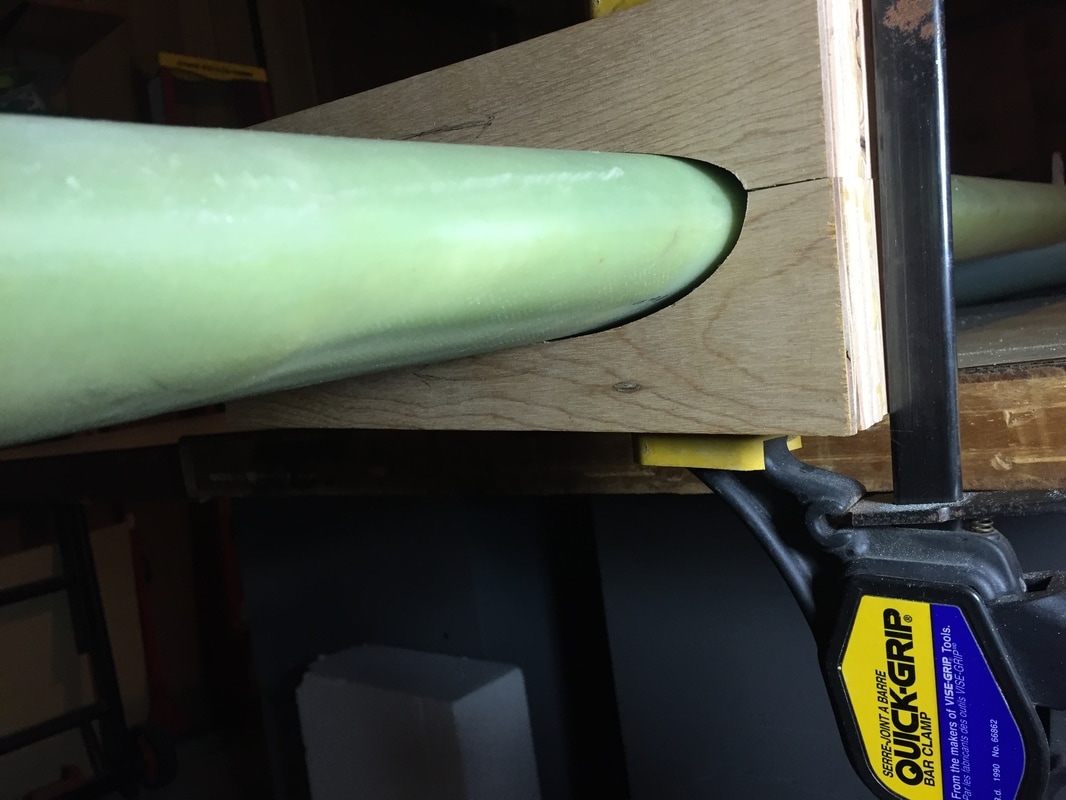
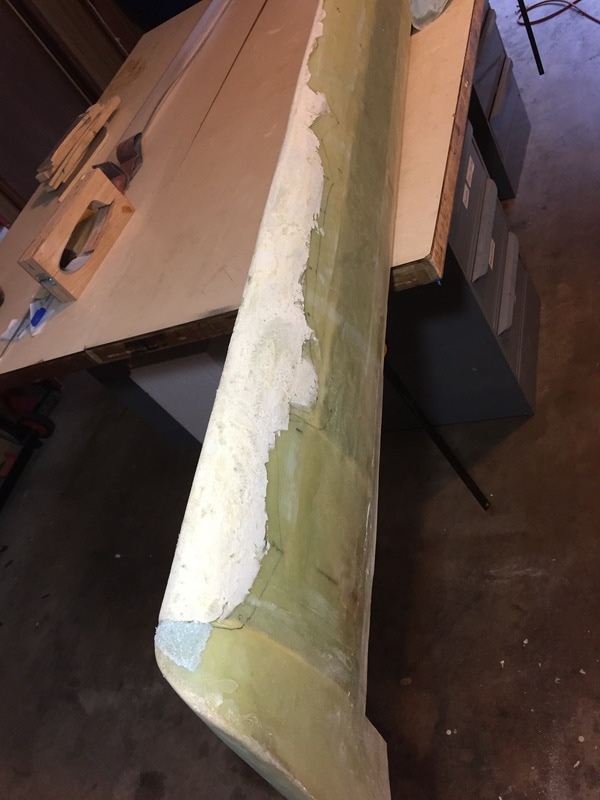
This was the worst section of the Canard LE, and shows the amount of fill/fix needed before moving to micro shaping...
|
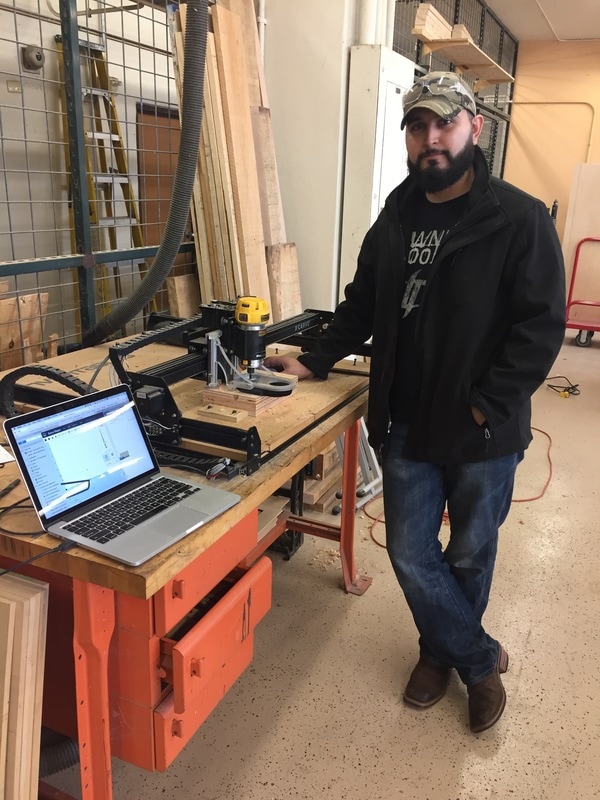
Alex Marez with the X-Carve cutting the Roncz Top and bottom sanding blocks
|
|
Fixing the Canard LE:
So now I need to fix these low spots near the LE of the canard. I'll use "sides" to denote Left (Pilot) and Right (Co-pilot) sections. Note also that I've already bonded and shaped the canard cover back in Ch 18. The following is a description of what I did (Thanks Marc Zeitlin for the guidance, and the encouragement of a couple of other builders to try and fix it, before abandoning it and re-building). Step 1: Measure and Mark where the Problem is Thankfully the problem areas were low spots vs high spots (Later I will discuss a couple of high spots I did take down on the canard wing tip), which mean that the fix (per plans) was to fill with Pour Foam, shape to the profile block (offset for thickness of glass), then glass. This didn't sound so hard but it did require a bit of learning and patience, as my experience with Pour Foam (PF) to this point was filling in the triangle void space in the strakes. Step 2: Fill with Pour Foam (PF) Below is a picture of my first filling with the PF. How I did it: - mix the PF to directions in cup and as it just starts to expand, quickly pour some in the palm of your hand (plan to use lots of Nitrile Goves - this stuff is incredibly sticky!!!) and spread on marked area of interest. Don't worry if you get it outside your markings (it sands easily). I tried masking the area at first with packing tape but this was not a good idea, because the foam grows over the mask and then either you end up sanding your tape, or breaking the foam removing it. - You will find that there's only a limited amount of time to work with this foam really only one swipe is good. The foam starts to bubble and expand, and if you touch it to fix a low spot, you just ruin it because it's so sticky and air bubbly. It's OK to just give it 30-60 min to harden somewhat and then apply more using same method. I made pretty small batches for this reason. The result is really ugly as you can see below. - Let the PF cure for several hours before sanding it (it's easy to sand when it gets hard). - I used the profile blocks to sand the PF with an extra layer of duct tape under the sand paper to allow for thickness of glass later - I also used 2" Al angle bar to check the span wise profile was even. 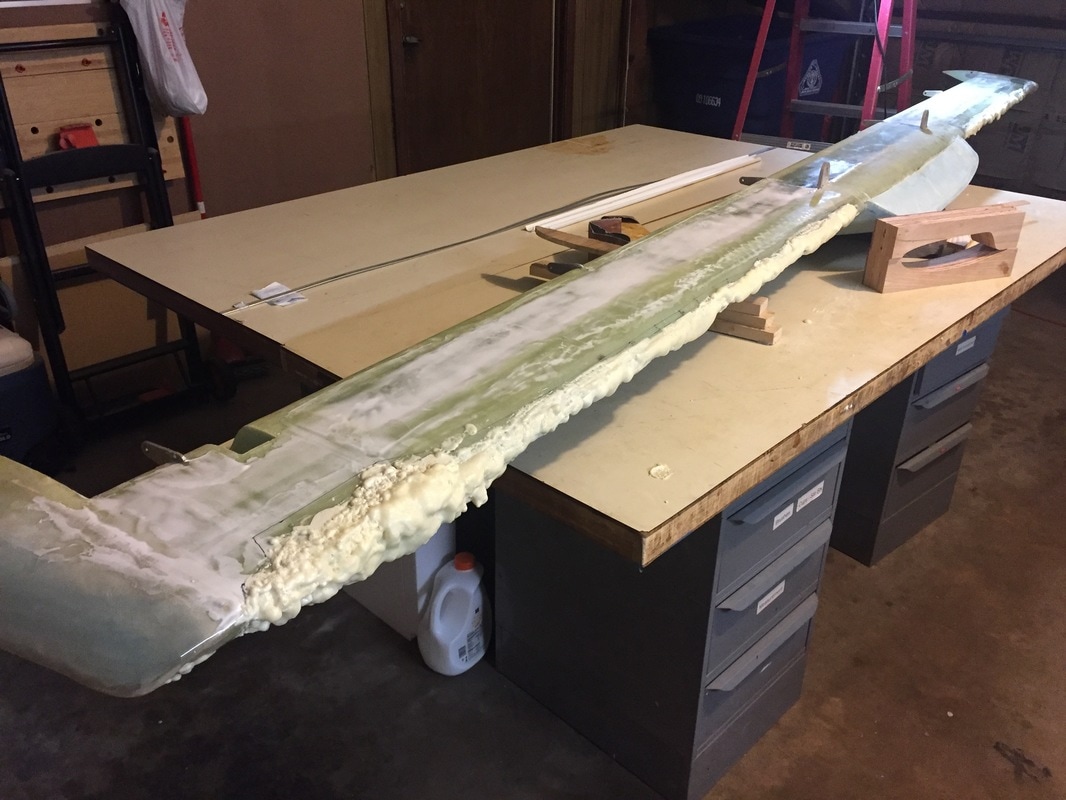
You have to make it ugly before you can make it look decent. This is Pour Foam applied to LE... Note the Sanding Blocks for top and bottom sitting on the table.
Step 3: Glassing
Once the PF is sufficiently smooth (and this took me 3 application/sanding cycles) I micro'd the foam and glassed the whole thing with 1 UNI aligned span wise so the fibers would lay nice and flat. I wasn't trying to create structure here, just a nice hard shell over the foam that bonds to the real skin of the canard around the periphery of the foamed region. |
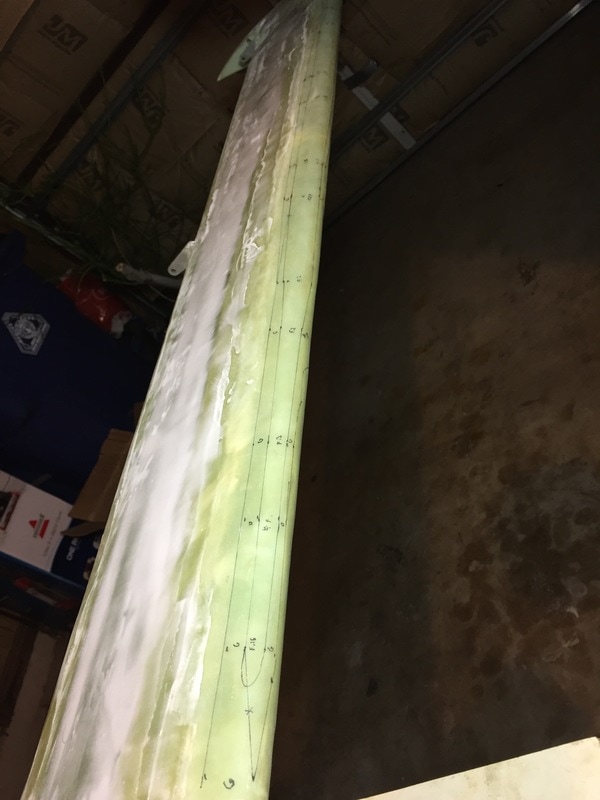
Example of marking where foam and glass would be needed. Note that I drew a contour associated with gaps greater than 0.1" labeled "F" for foam and less than 0.1" labeled "G" for glass.
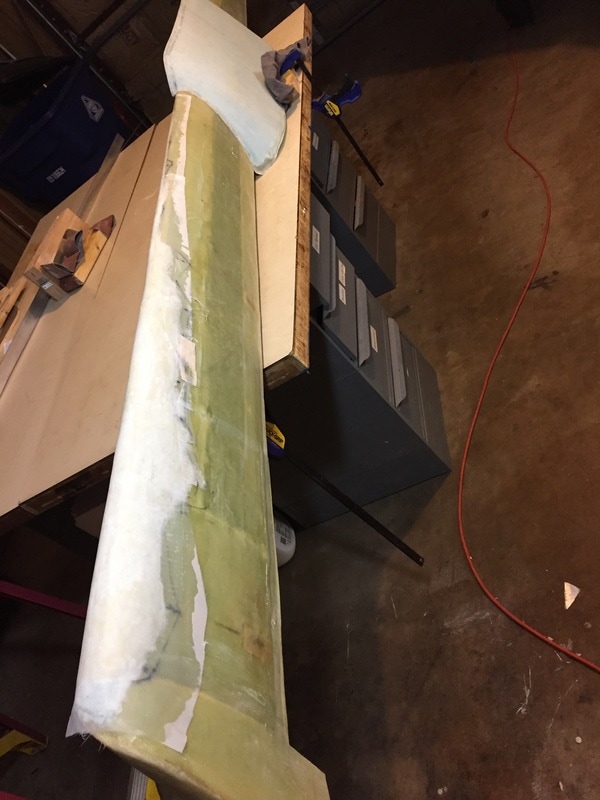
Here's a look after the Pour Foam has been profile sanded. Remember that this foam is mostly about 0.1" thick and at it's thickest is about 0.25". That little piece of blu foam near the tip is an "add" I used to deal with a localized low spot near the end of the process
Here it is with 1 UNI and PP applied over the foam. Once cured, it's really hard. It's not very smooth, but has the right shape now and ready for micro fill.
|
|
Micro Fill and Sand
With the LE fixed and glassed I started the micro fill process. One of the photo's above showed that I'd done one micro fill pass on the underside of the canard (mainly over the spar cap area) both to see how the micro flowed/leveled and to get the bottom profile close before using the sanding blocks. I used an 8" wide plastic drywall smoothing trowel over the spar cap areas because it was wide and flexible the first pass. Subsequent spreads were done with the 4 or 5" squeegee since it was even softer for the curvatures. I used West System 105/206 Slow epoxy for this micro fill and as others have documented, it's easy to sand. I use a small scale to mix it just like I do with the MGS and EZPoxy since I'm very used to it and can control the mix at +/- 1 gram resolution. Per the plans my micro is quite thick with glass spheres so it doesn't sag accept just a little on a vertical surface, but it's still got enough epoxy to stick well (i.e. it's not a dry paste). I think this is one of the things a builder just has to develop a feel for. If it's draining off the mixer stick into the cup I add a little more micro spheres... I've done iterations with the micro and it's looking and the sanding blocks are sliding well. The feel of the surface is pretty good but not perfect, and I'm not sure how close to perfect I'm going to get. |
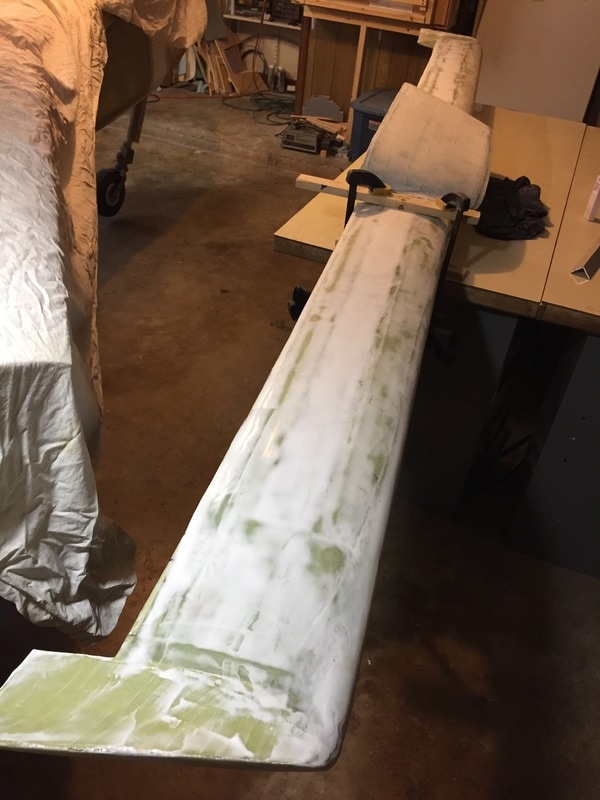
After 1st micro fill/sand cycle. Sooo much better shape now and starting to get smooth. Not working on the canard tips yet, even though I did spread a tiny amount of micro on them. The canard cover will probably be good with a single micro coating and sanding (hopefully a sign of easier finishing on wings, strakes, and most of the fuselage).
|
Filling or Pre-Primer
Before Primer is applied, I did a final fill with something that will take care of the tiny pin-holes and depressions I can't seem to get rid of with multiple passes of micro fill. This micro I make a little wetter so it feathers easier and fills tiny holes and is less likely to carry bubbles that later becomes "holes".
Before Primer is applied, I did a final fill with something that will take care of the tiny pin-holes and depressions I can't seem to get rid of with multiple passes of micro fill. This micro I make a little wetter so it feathers easier and fills tiny holes and is less likely to carry bubbles that later becomes "holes".
|
Primer
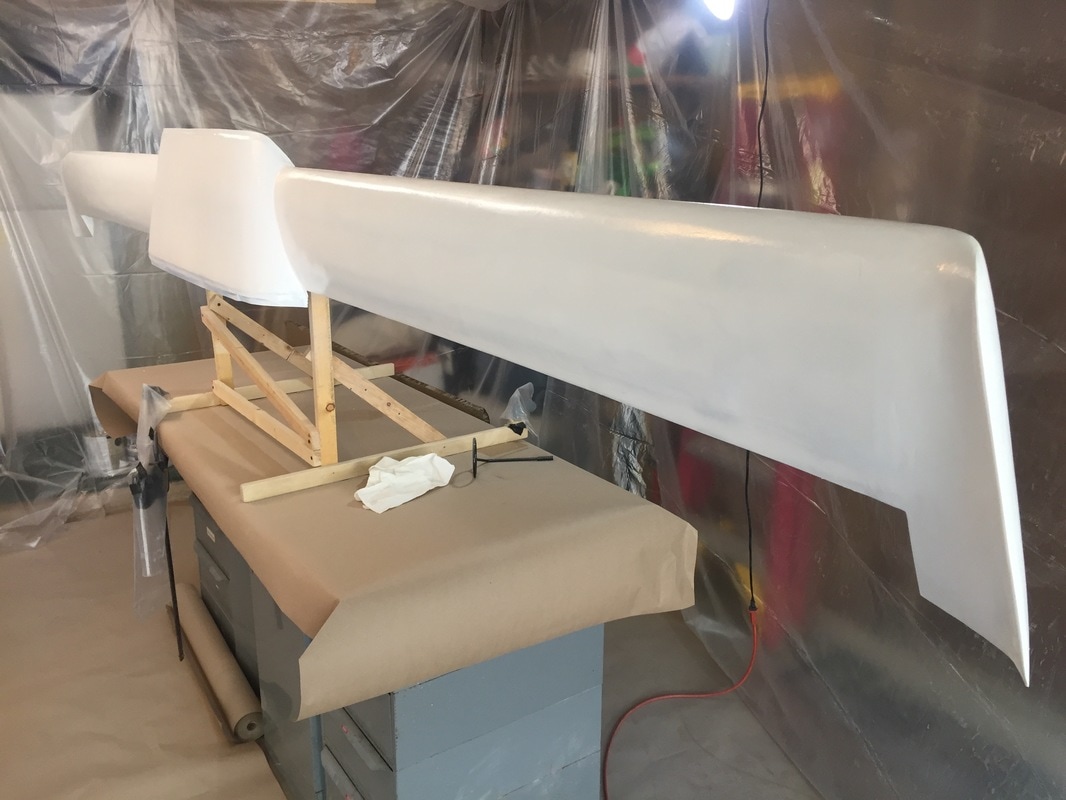
I'm planning to do my flight testing in primer so have selected a glossy white Southern Polyurethane's Epoxy Primer. This will be my first experience using an air powered sprayer. Woo Hoo! I've built a frame in my garage over the table where I usually work and will drape plastic over, around, and under to form a paint booth. The canard attaches to this frame with wood screws through the forward support tabs that normally attach to F-22. The booth has to be below the garage door track so the latter continues to be functional. I've also built a small canard support stand so I can move around it and paint the top and bottom in the same session. After some time to build the paint booth around the canard and table, and also set up the spray gun and practice with them, I put a couple of coats of Southern Polyurethane Epoxy Primer on the canard and elevators. The resulting gloss highlighted some areas that needed further smoothing. For this thin smoothing I used West/410 fill and sanded everything. A final coat (2 over the local areas that had been filled) of primer was then applied, and I feel quite good about the result. This was a pretty extreme shaping exercise and I believe I now have a good Roncz profile. I was surprised how easy the painting was after a little practice with water. I'm not a pro though, and I did get a little run in one spot that had to be sanded after full cure. 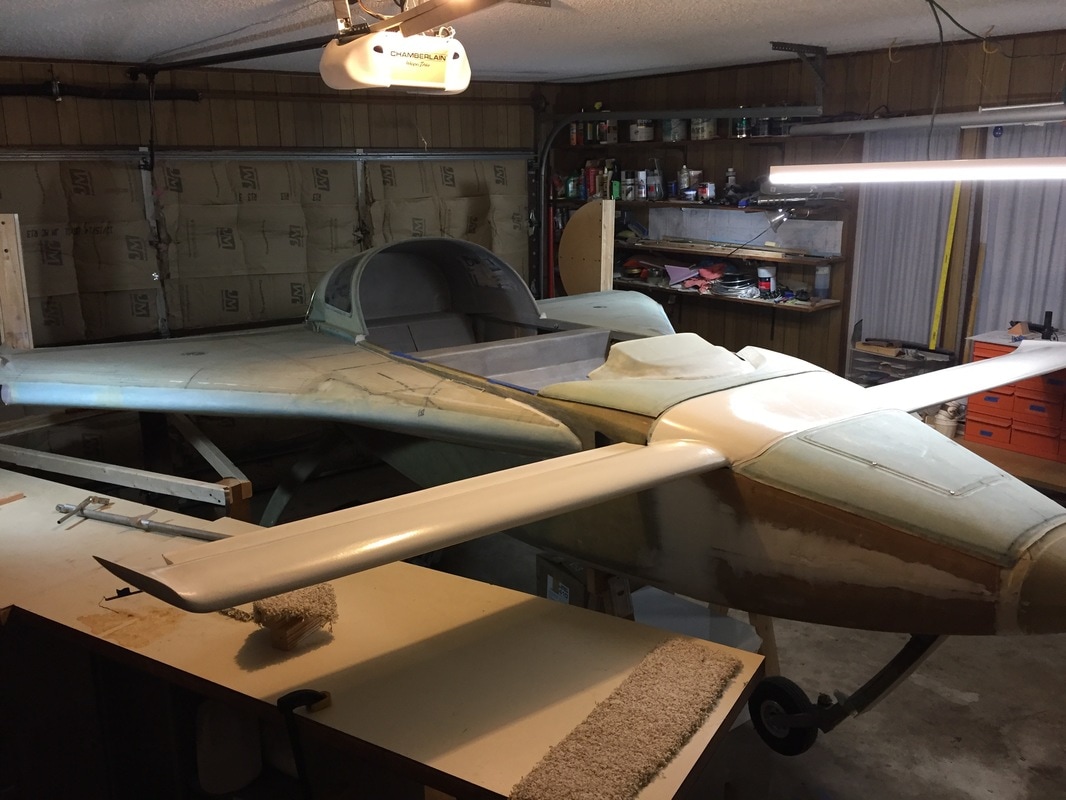
Canard/elevators with somewhat "finished" look mounted on fuselage. It's a big motivator to see shiny white vs dull glass...
|
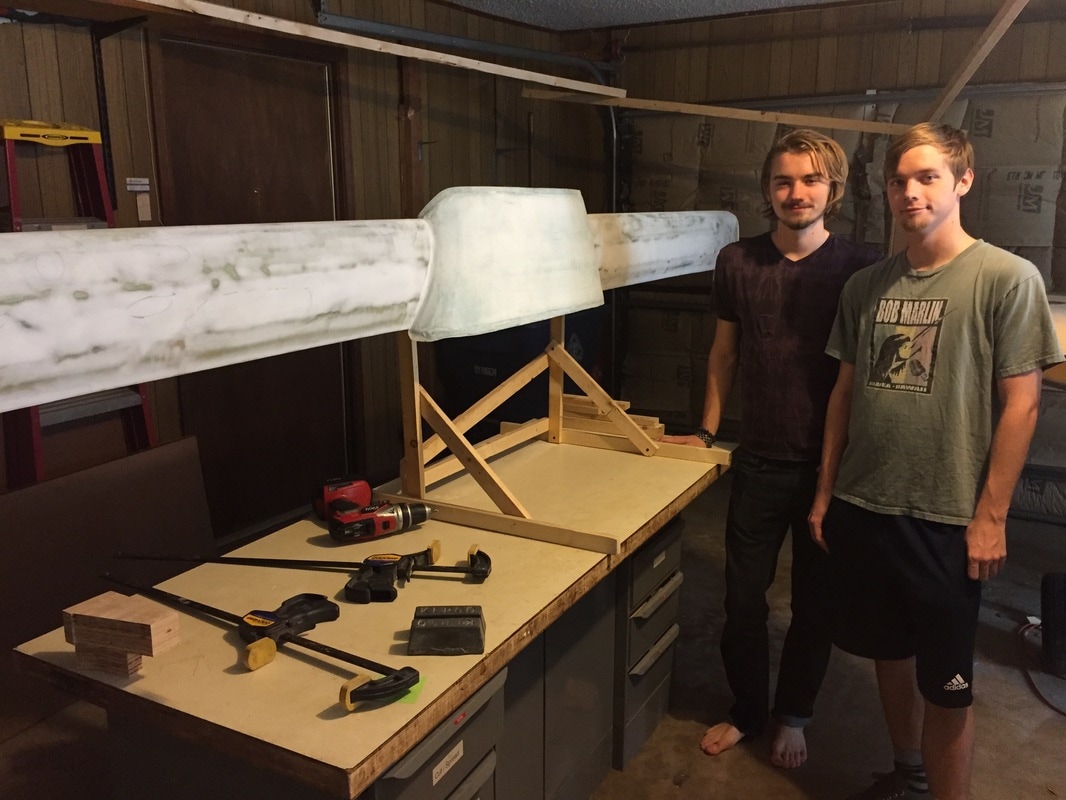
Reece and Garrett showing off the canard paint stand. The wood frame of my "paint booth" is visible above them.
2 coats of Primer - my first experience....
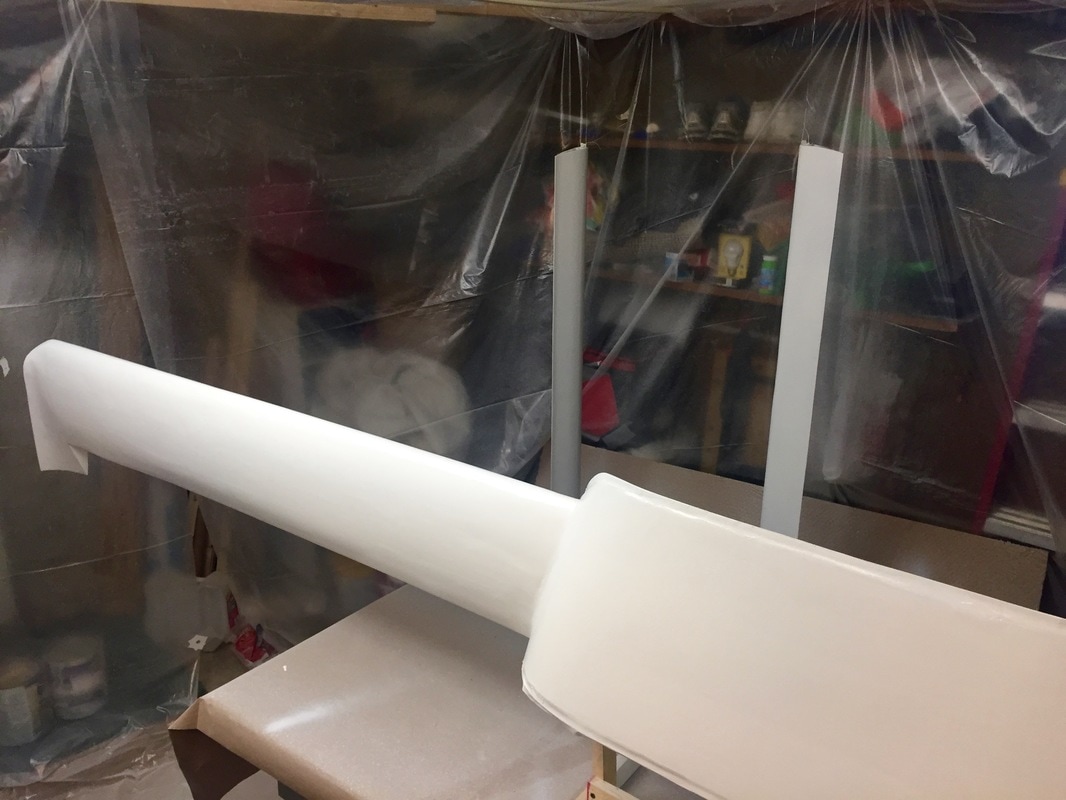
Elevators hanging in booth get 2 coats too!
|
Last updated 4/22/17