Chapter 25: Finishing Wings
Below text involves details for other builders doing finishing. If just perusing, scroll down to the pictures...
I did the finishing through primer coating on each wing immediately after attaching the winglets and forming the rudders. The reason for this is touched upon in Ch 20 (Winglets/Rudders) but as a reminder: I'm building in a 2 car garage and space is very limited. I waited until I was done finishing the fuselage/strakes/canard before putting the winglets on, so I could keep the wings and winglets stored separately and much more space efficiently. When I reached the point that I had to put the winglets on, I wanted to complete their finishing and priming to provide protection from the sun and weather as they would be stored under the house but exposed to the elements.
I started with the Right wing when attaching winglets for no particular reason, but some say the Left side gets more visibility for side hinged canopy models like mine. I used the same finishing method I'd used on the strakes, but much more use of longer sanding board after getting the filler pretty close final shape. I have to admit that I've not yet been able to get myself to slather 3/16 - 1/4" initial layer of micro over the whole surface and then sand it to the perfect shape. I think there are two reasons for this:
a) My wings were made with Eureka CNC cut foam cores but even then they are not as perfect as they could be. I don't mean this a criticism of the previous builder who skinned these cores, because I've not had direct experience laying up a surface this large, but the winglets I did make and they are MUCH smoother over their Eureka cores. For this reason, there are a few high spots that prevent really long (3-4 ft) board work to smooth. I found a 24" aluminum sanding bar to work very well for my wings. If you read what others have written on this, you will find that this process is very much a learned art. It's physical, and mental. I believe I'm getting much better at the fill and sand process, and am glad that I've improved before starting the wing lifting surfaces. For this Right wing, it took me 3 cycles of fill and sand, with each cycle being over a smaller subset of areas. For me I find it important to fill not just the low spots that I mark with fine tip sharpie pen, but extend this fill out over the adjacent higher areas, so that they can be feathered well in the subsequent sanding. What really got to be a problem in early iterations on the fuselage, were re-fills near the edges of previous fills... over filling works well for the same reasons I think the pro's say to over fill the whole surface and only sand once...
b) Though I complain above about imperfections in the layup, at the same time, they are quite representative of the underlying foam shape of the wing. For this reason, I don't want to loose touch completely with that underlying shape. When I do the initial spreading, I like to spread this initial fill layer over the whole surface with 1/16" to 3/16" thickness in most areas, so I can retain a good feel for the underlying shape as I do the subsequent sanding. One wants to use long strokes to retain this, but I find it hard to maintain perfectly even pressure during the stroke. If you can't press evenly, even a long stroke with a long board may have you reach the glass surface early in some areas and late in others. The main thing I can say is to try a number of approaches. The one I used seemed to be fine for me and didn't take me that long to complete.
I will note one a few other things I observed using the West 105/206 Slow epoxy and West 410 filler by this stage:
c) I typically wait at least 6-8 hrs before sanding. Though this enables the epoxy to get harder than after 3-4 hrs (I have tried this shorter time) it enables more control of the sanding rate. It also reduces the agglomeration of sanded powder on the sand paper itself. When I sanded after 3 hrs it was only to take spreader seam ridges down.
d) I used a hand vibrating sander for about 50% of my sanding work. I know, this is heresy. I felt it was a good compromise, in my case between speed and accuracy. By using the vibration, I could use lighter pressure and longer stroking motions over the surface, to get the shape reasonably smooth. THEN I would use the 24" sanding board to blend areas together and retain the longer scale smoothness.
I must say that I've not yet seen a perfect surface on my parts like I seem to see in pictures of other Cozy's. I think my surfaces look pretty good however, and they are only in primer for now. Eventually, I expect to do further smoothing on conjunction with complete wing/spar/fuselage assembly in the hangar, so I'm trying not to let my perfectionism get the better of me yet.
Here are a couple of pictures with only the first coat of primer on the wing/winglet. One side of rudder and aileron also getting primed at the same time. It's easy to see under the light reflection how the underlying differences in porosity between different fill cycles show through the surface of this 1st primer layer. Subsequent coats eliminate this variation in reflection in the surface.
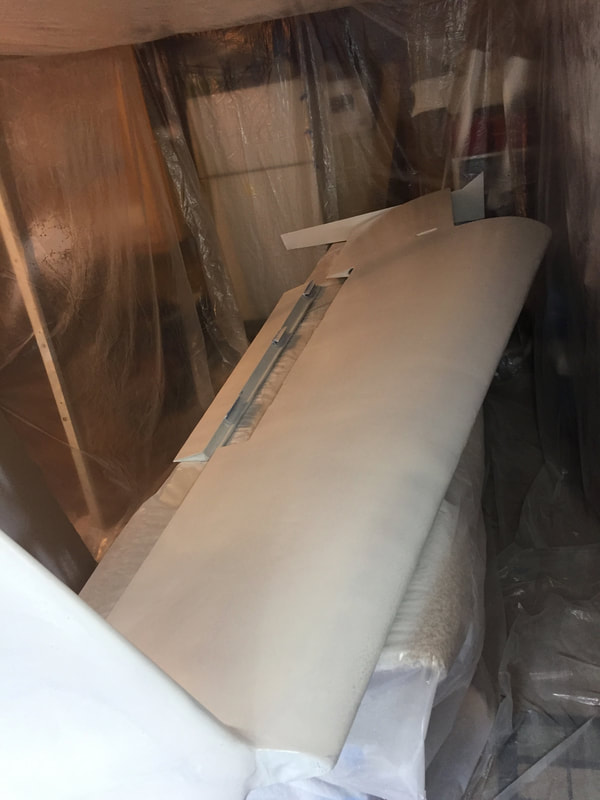
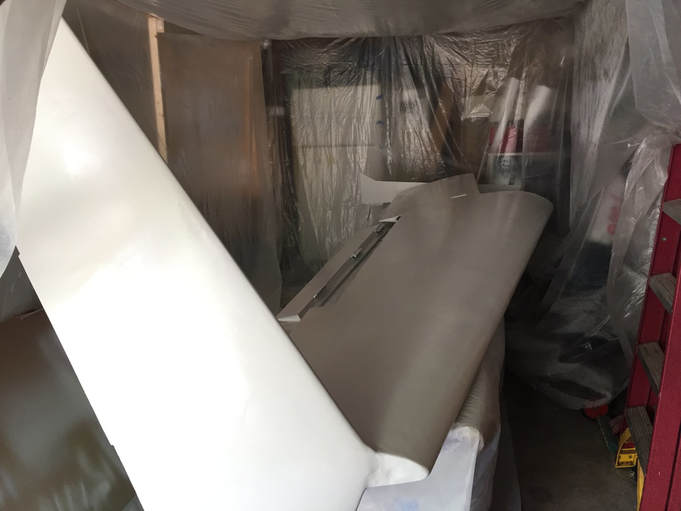
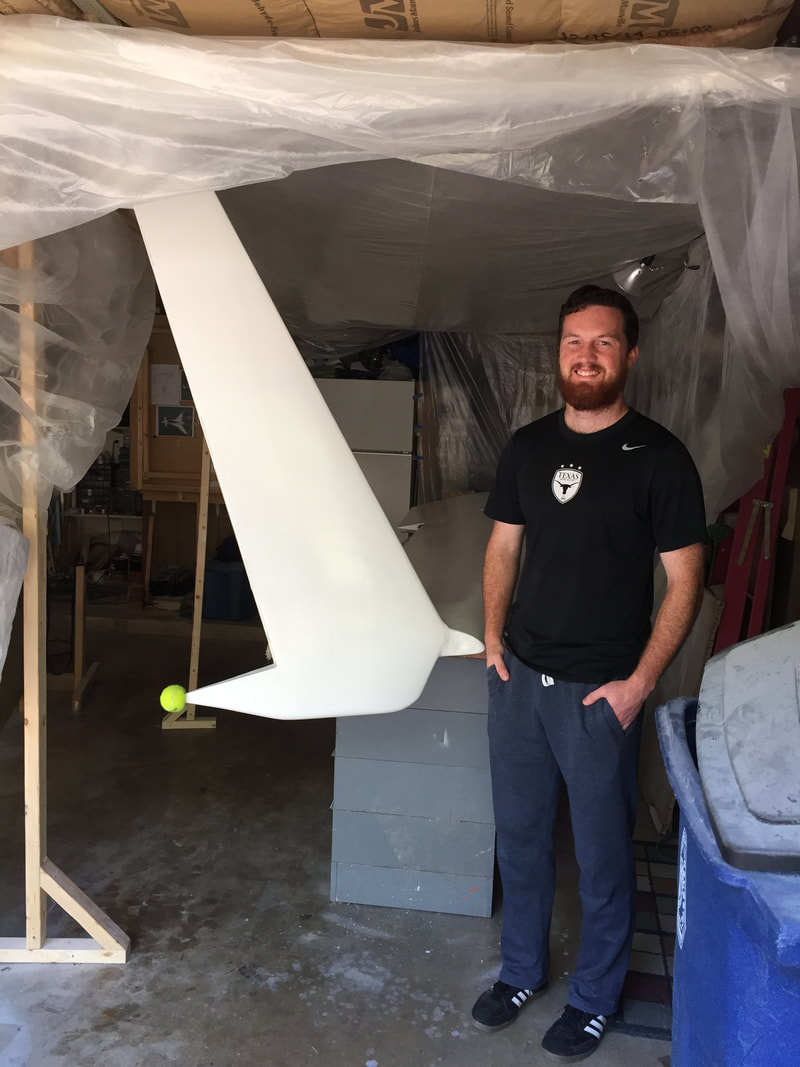
1st primer coat: lighting not that good. I use this coat to help me find imperfections for minor fill before adding another couple of coats. Rudder in the back on the table.
|
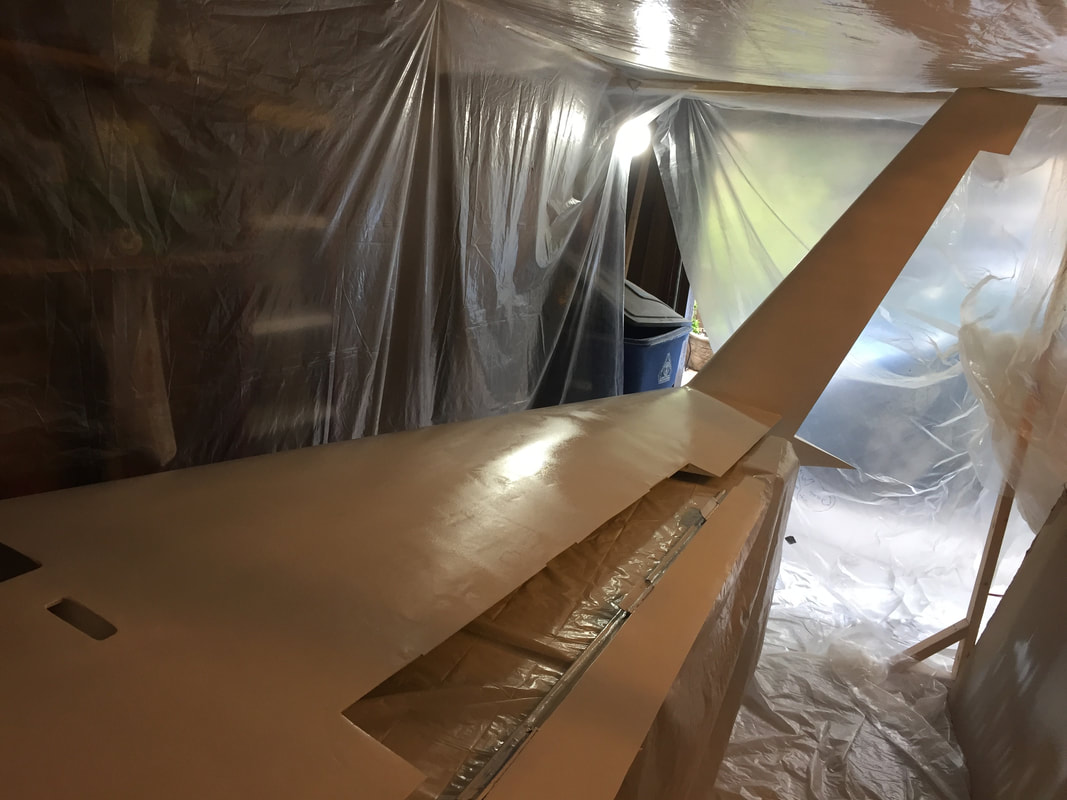
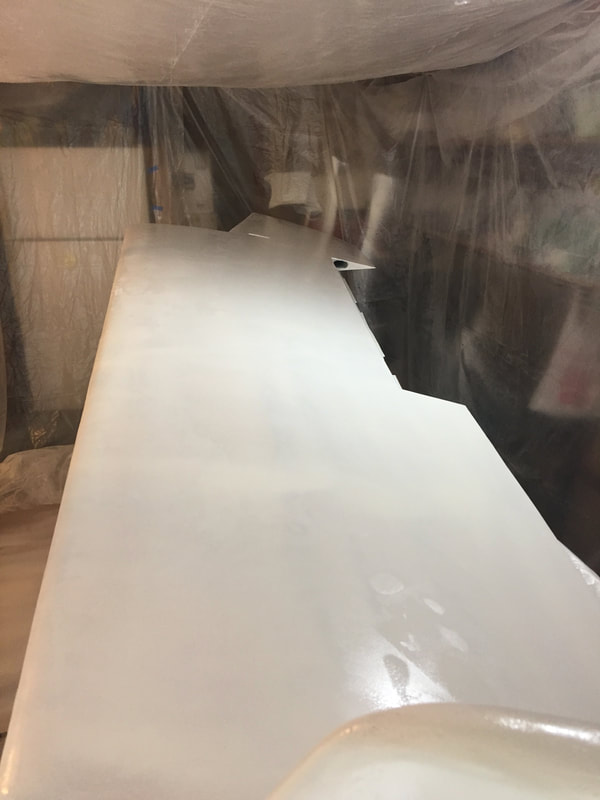
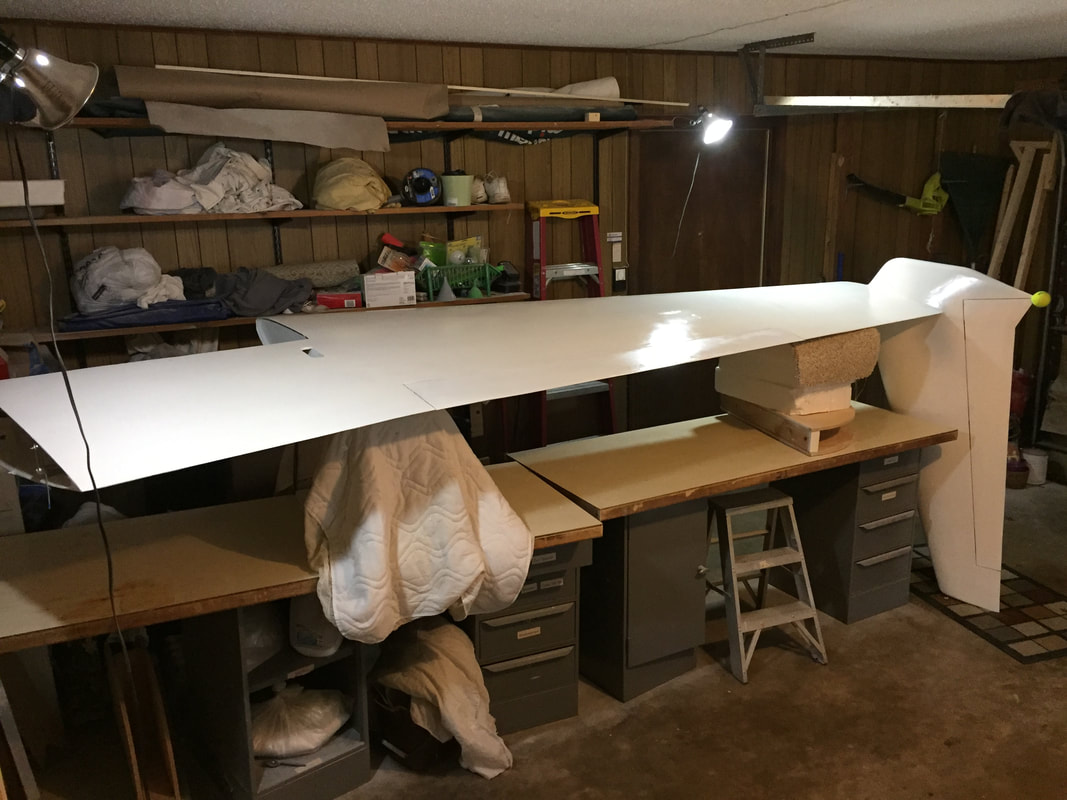
View towards winglet, light glint shows patterns of underlying fill surface porosity, that will disappear in later coats. Aileron on the table.
|
|
Then go in with thin fill for pin holes, scratches, and poor spot feathering that I missed previously, but are very easy to identify once the 1st coat of primer is on. Then 2nd primer coat... as I head off to Rough River 2017.
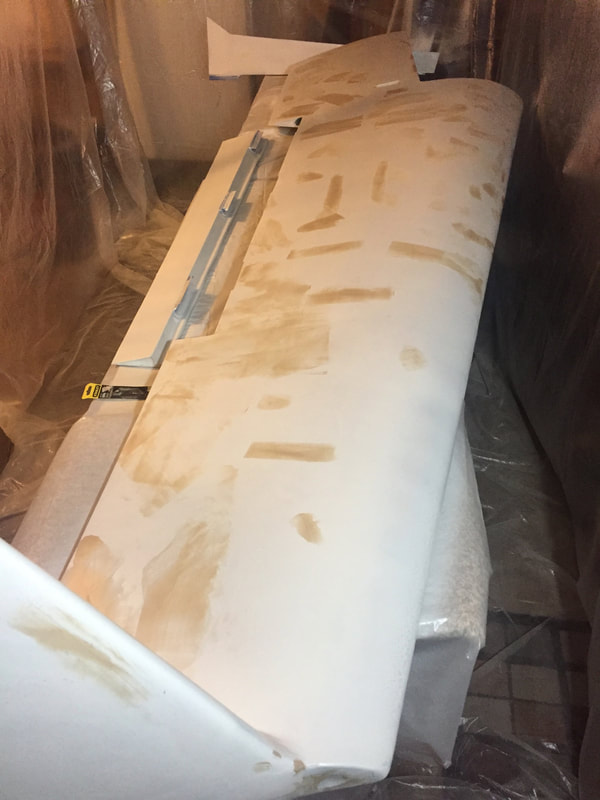
Spreading thin layer of fill in pin holes, and low spot blemishes now easily visible in primer. Not treating aileron or rudder as they are in good enough shape and I don't want to add any weight to them behind the hinges.
|
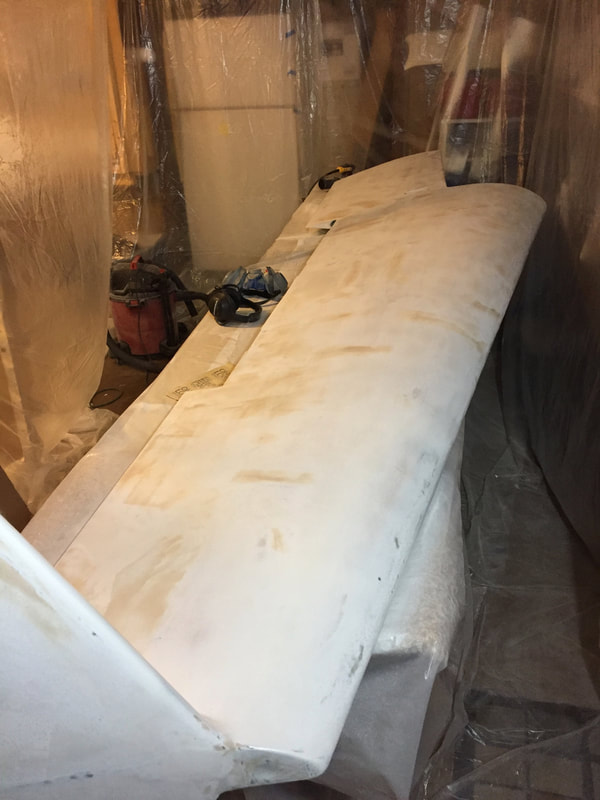
After sanding the thin filler application...
|
2nd coat of epoxy primer applied.
OK, I'm back from Rough River and all full of energy and motivation to continue building. So much so that I got this wing flipped over and back on the table despite not being able to round up my normal neighborhood helpers. DO NOT DO THIS BY YOURSELF! I will not do it again, even though nothing got ding'd or scratched. My wife had to rescue me (a desperate call into the kitchen from the garage) at the end by holding the ice chest still on the table as I angled it up on top... Yes, I should have just had her help me with the wing in the first place.
Smoothing and 2nd coat of primer on bottom of R wing
|
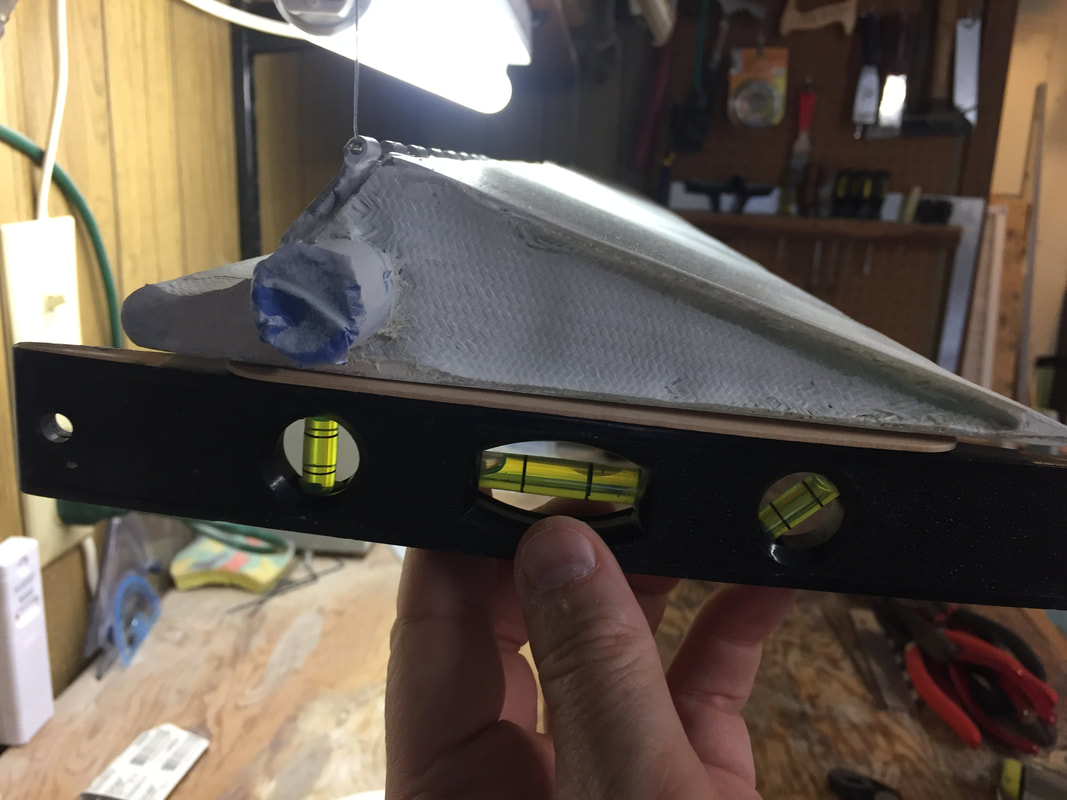
R aileron failed balance test after filler and primer (passed before this work). See below:
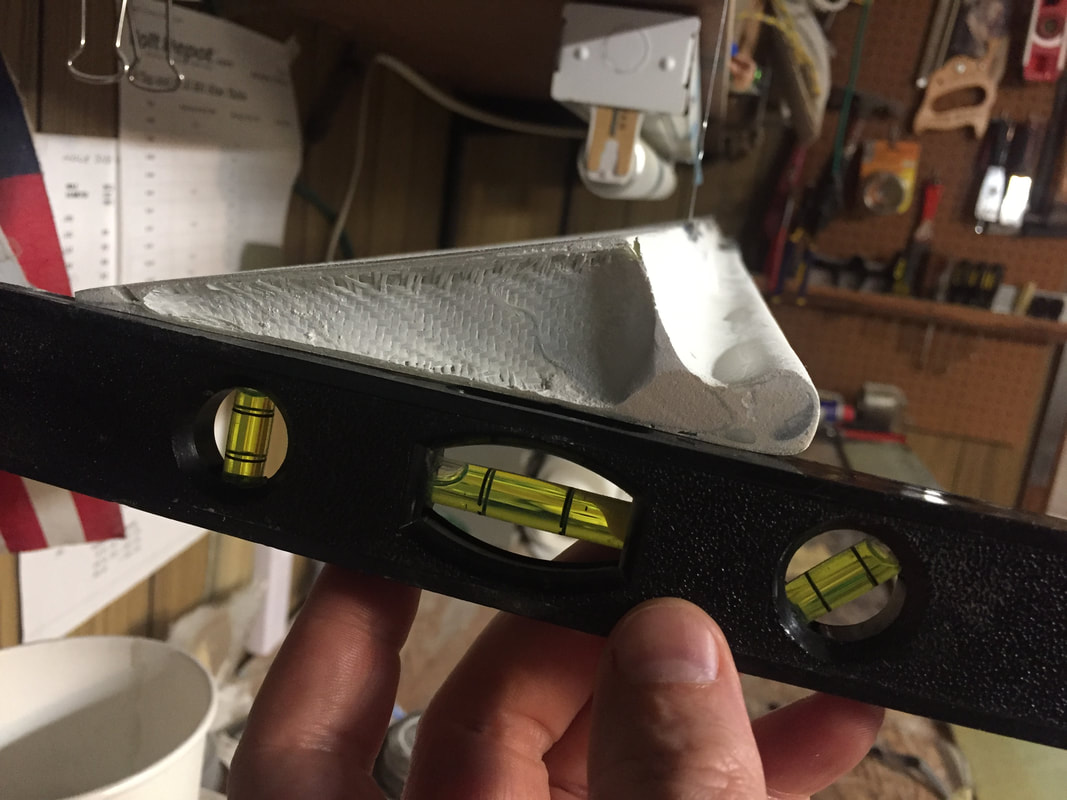
Plans allow addition of up to .3 lb counter weight behind the LE weight, which I did. See below easily passing balance test. The weights are at the far end of the picture so they are hard to see but I used 2 lengths of 1/4" steel bar that weighed 73 grams each. This was more than I needed, as shown, and I may reduce this additional weight after some flight tests, but I should not have a flutter problem. I can also sand off some primer, as 2 pretty thick coats on the ailerons is probably overkill for protection.
|
Time to get this wing finished and stored so I can start working on the other one. Remaining things to do (documented below): replace the original aileron bearing at the wing root with IGUS bearings (done), connect the rudder cable to the hidden bellhorn and install the rudder (verify it moves and returns with no interference), re-install aileron and its wing root hardware (verify it moves to spec with no interference). To do these, I got help flipping the wing back right side up from Kilian in our neighborhood (easy with 2 people).
|
The above is a short video showing smooth right aileron and rudder movement after I'd completed finishing of this right wing/winglet. The wing is still resting on a table, and the actuation is done from the wing root.
This is now stored so I can start the same processes documented above for the LEFT wing... |
I then repeated the process of winglet attachment, rudder cutout and fitting, and finishing everything on the left wing. Rather than include more photos of the process, here's the finished to primer left wing with rudder and aileron completed.
|
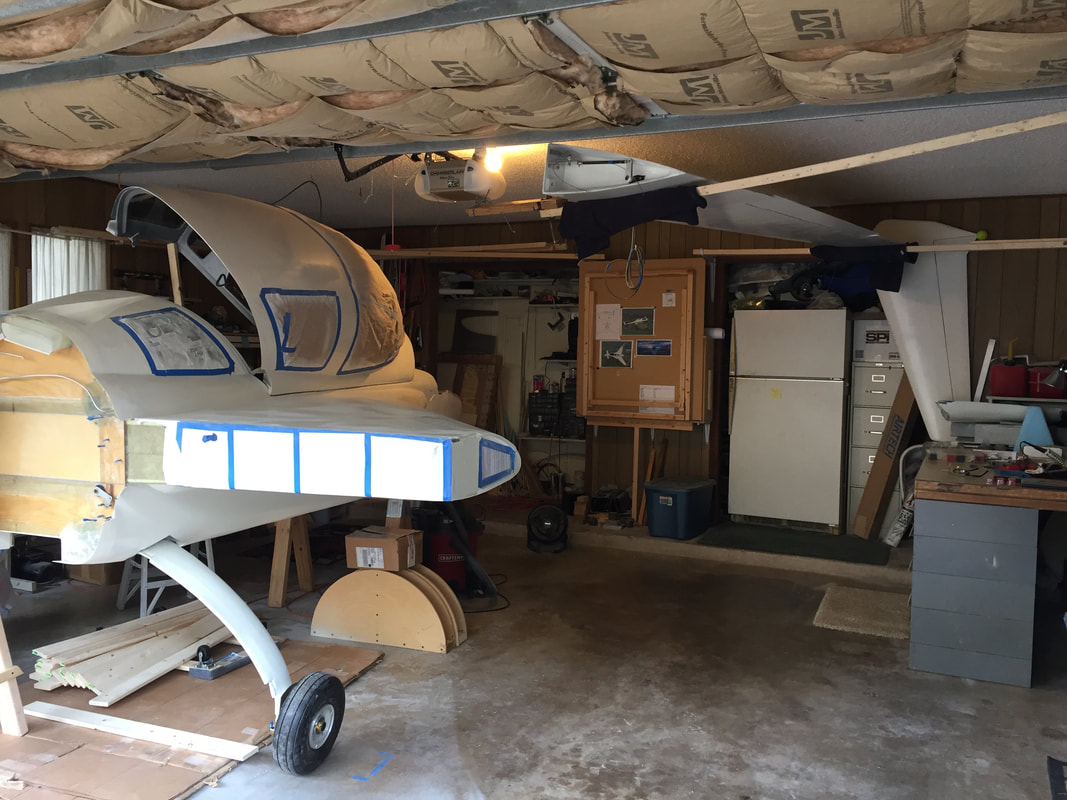
Storing Left wing in ceiling of garage... Need room now to work on engine and electrical...
|
With both wings done, I'm ready to assemble everything and weigh the plane and check the CG prior to engine mount ordering. This should happen in the next couple of weeks when my boys are home from College.