Chapter 13.2 - Nose Top and Canard Cover
|
|
|
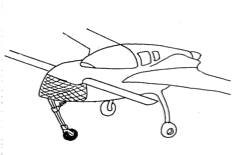
Step 10: Nose Top and Canard Cover:
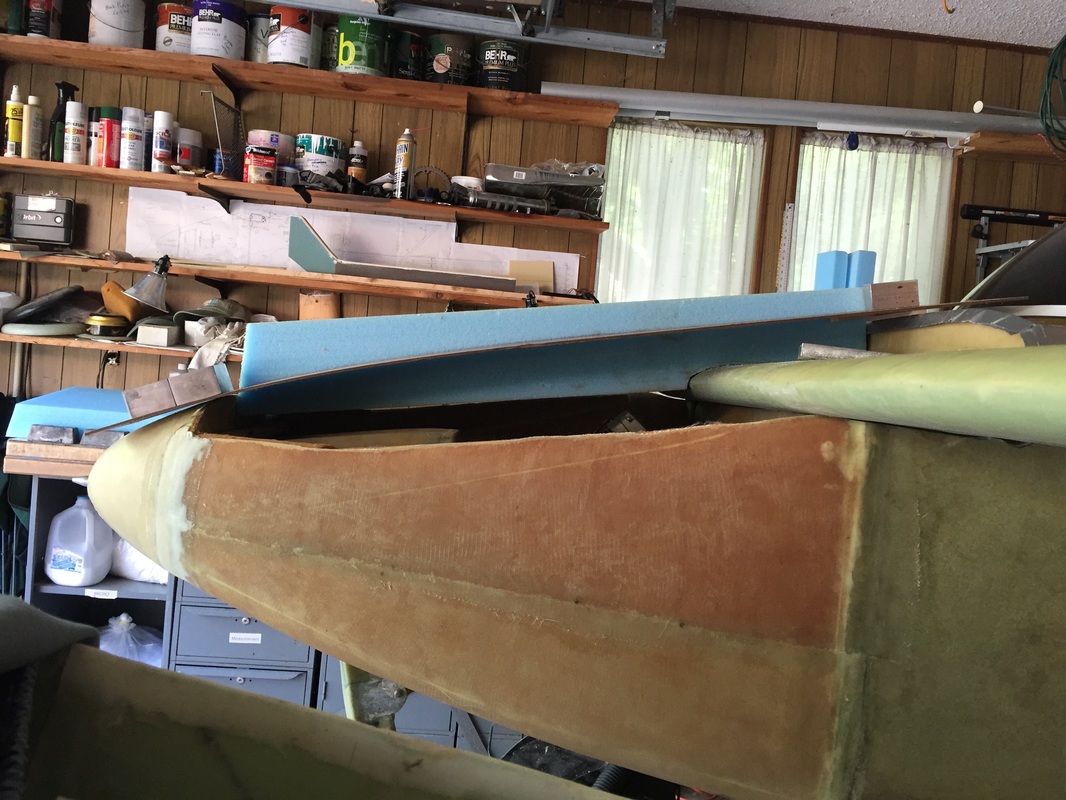
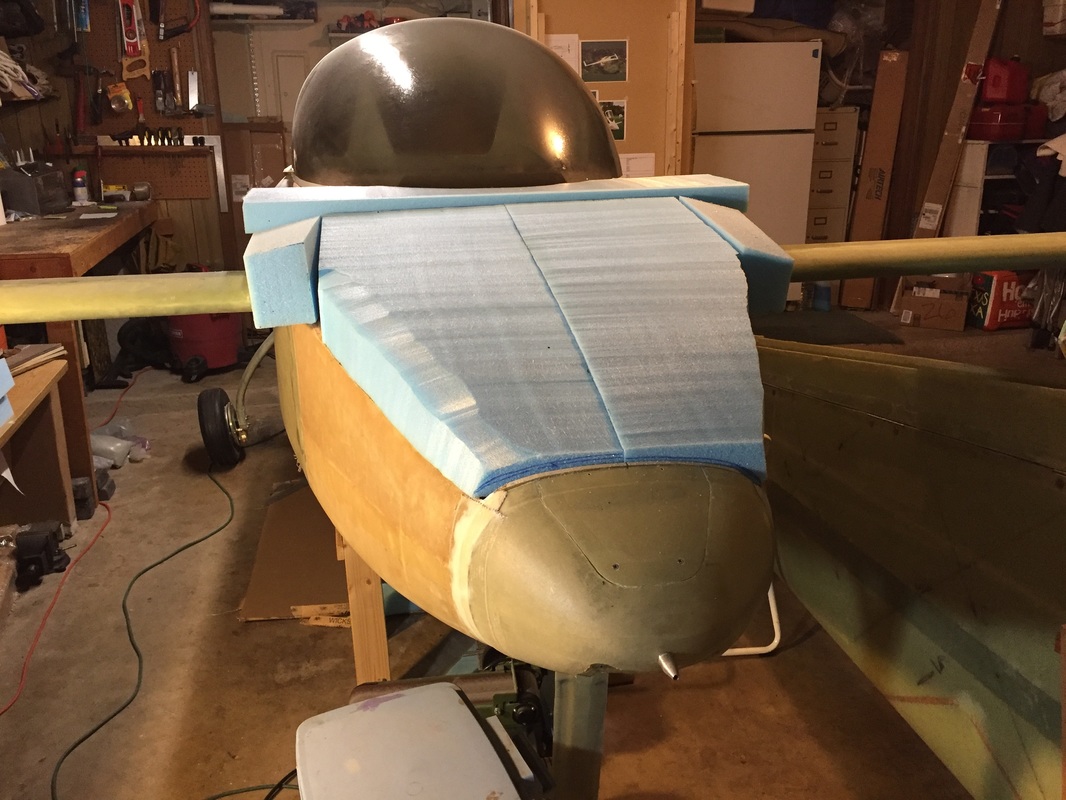
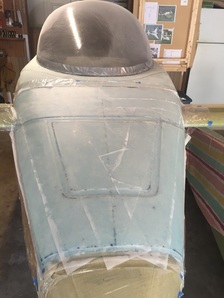
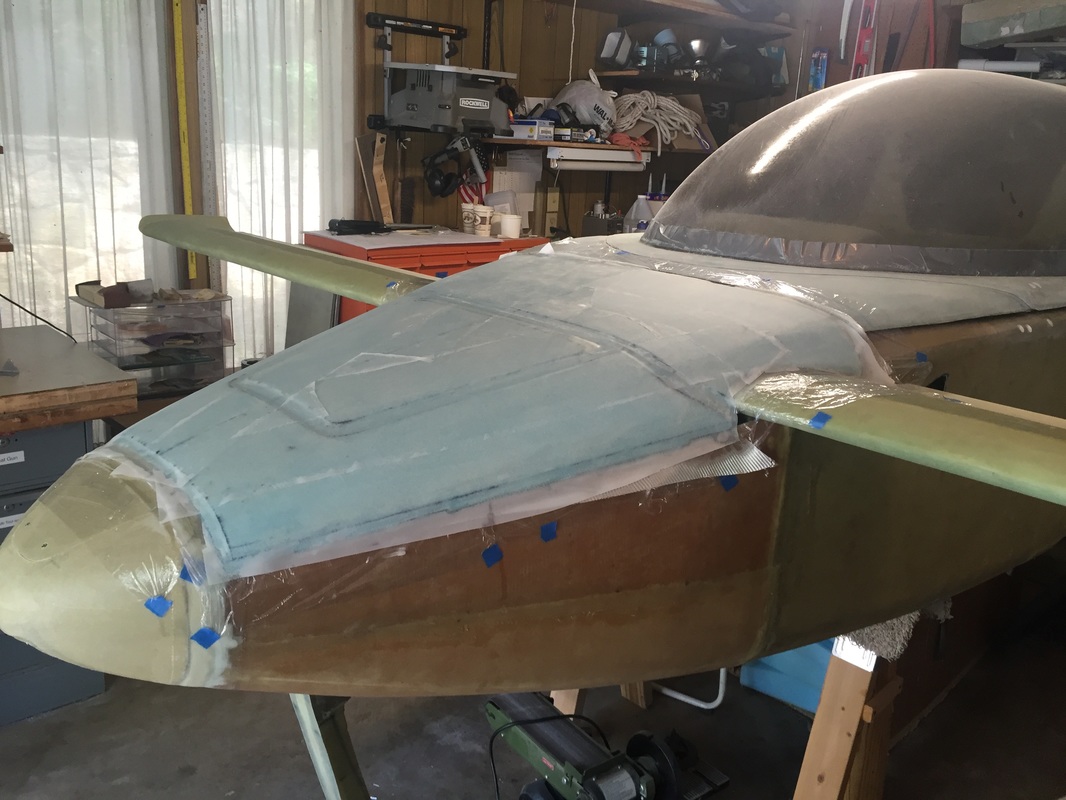
As I started dealing with the foam for the Canopy Frame in Ch 18 around April 2016, I wanted to get the flow nice all the way from the nose. So I stopped on the canopy and addressed the build up of the Nose Top and Canard Cover (sides and bottom of the nose were done previously David, see previous documentation). This began with finding the last of the big blue wing foam that I like working with and were included in the project, when I bought it from David Pierce. I then started working on building a shape guide for the nose top. Rather than make side templates as Wayne Hicks and Bernie Siu did, I decided to use a bending beam class of shape by cutting some 1/8" masonite and trying some weights on it in front of F 0 and on F28 to closely match the slope at F 0 while allowing a smooth transition to almost straight at the canopy intersection (where I'd previously marked with tape for the 3/4" bonding edge). See the picture to the right for the shape I decided on and marked into the foam block for the Right side of the nose. I then marked this profile on the outboard side of the block, numbered it for hot wire cutting and got my son Reece to help me hot wire the shape in. I then used this piece back on the nose to mark the Left side block and hot wire cut it identically. I needed some extra foam at the shoulders over the canard so all these were micro'd together along eventually with some spacer foam strips to get good gap filling with the uneven top surface left over from the nose side wall construction. Then I was ready to start shaping with a little hot wire work but mostly: straight hand grater, 80 grit on belt sander, and 80 grit on sanding block, and eventually 100 grit on sanding block... A big lesson was only sanding while I had good physical coordination and mental focus. I found out the hard way what happens when I pushed myself to keep shaping when I was a little tired or getting less attentive by having the block slip from under the sand belt and gouge the top foam right in the visible flatter area. It's not a big deal at all structurally but it's an ugly reminder until it gets micro'd just before glassing, of not paying very careful attention to the job and the self while doing this work. I also found that coming back fresh to look at the sanding work really helped me see things better and where I could continue to make the shape more smooth each time. i don't have a good picture of it, but I spent quite a bit of time getting a good contour in the underside of the canard cover to match the Canard top profile. I used the Canard profile templates from the full scale drawings and hot wire to get this very close, then finished with sanding. This is important so that later when the canard cover is bonded to the canard (see further below) you don't need much micro. You also need this fit good before finishing the top profile, so you can just rest the foam on the canard while shaping and know it's not going to sink or require prop-up later. 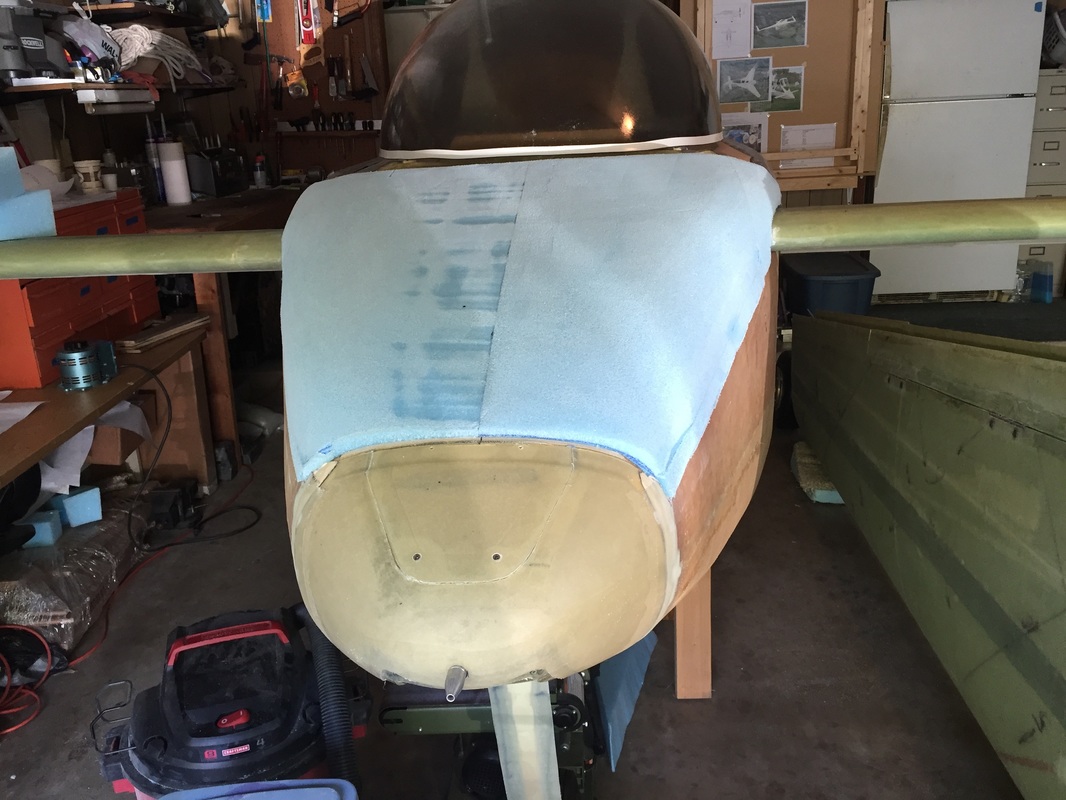
This is the condition of Nose/Canard Cover rough shaping where I stopped and moved back to Ch 18 to get the Canopy Foam shaped (see Ch 18 Part II Page near the bottom)
|
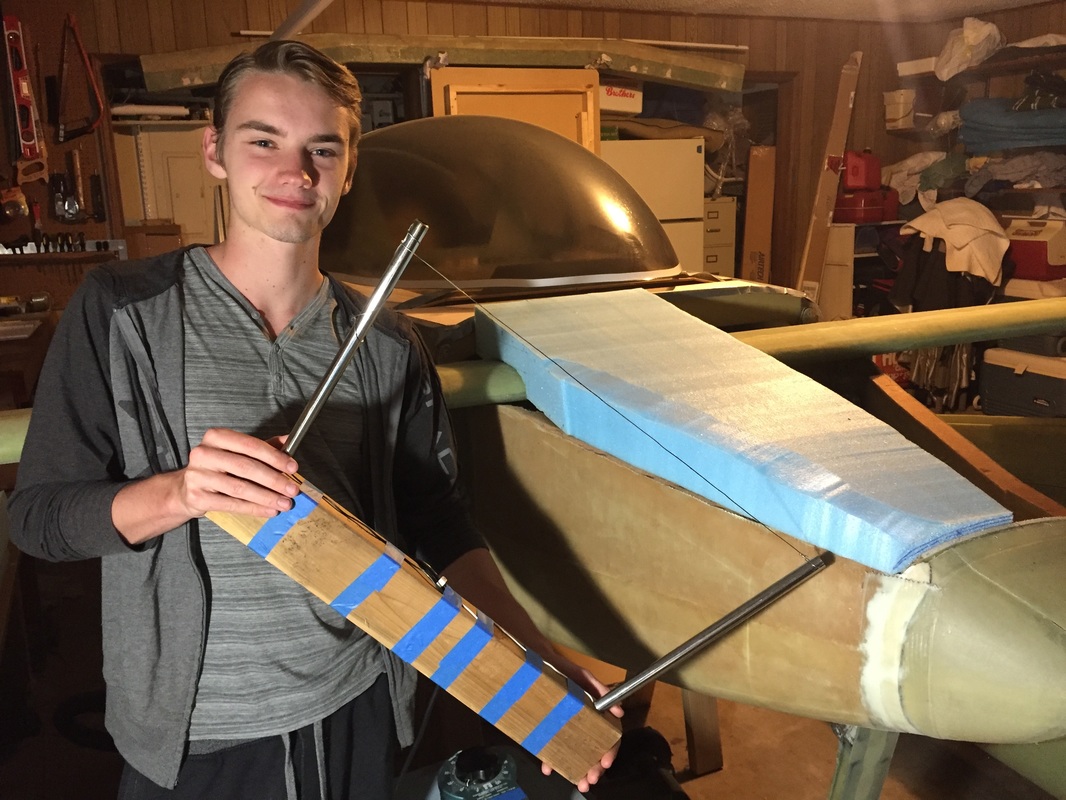
Reece, my hot wire foam cutting partner!
Initial hot wire profiles for blocks to make Nose Top and Canard Cover. (Un cut block behind them will eventually be part of the Canopy Frame)
|
|
Glassing the Nose Top (NT) and Canard Cover
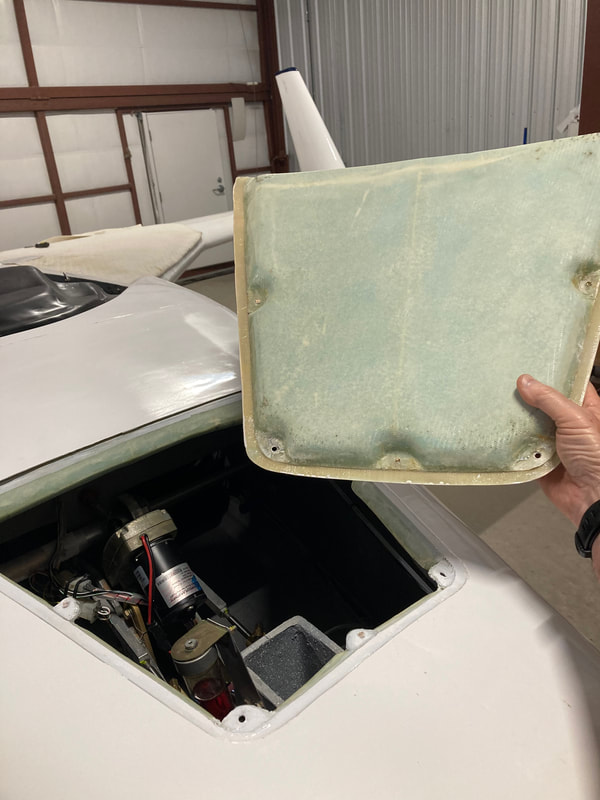
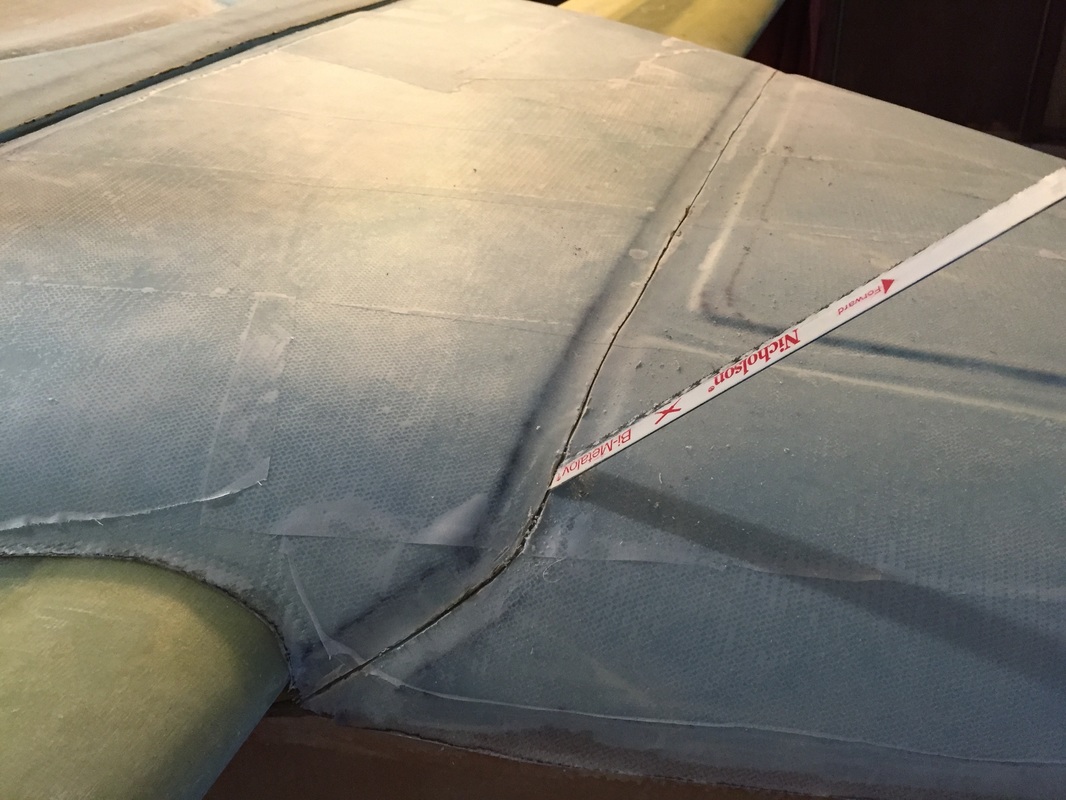
After a long period working on and completing the Canopy frame and Fuselage Top in Ch 18 I was finally ready to come back and glass the Nose Top (NT) and Canard Cover. Before doing the glassing, I read more about nose tops that others have done, and in particular had to deal with the fact that the tops of the sides are not perfectly flat or even the same height. This will end up being something I'll have to accommodate in the finish stage. It's not a bad shape, but it just means I need to blend well with the sides as they exist, since I don't want to cut the sides out completely and start over. There will certainly be some discussion on this when I get to it in Ch 24, but for now, I will get a good foam to foam connection and get the shape roughly continuous blend from top to side and from front to back. Before the actual glassing, I did several more fine shaping sessions on the top and canard cover to get both "shoulders" to look the same and blend well with sides. After some looking at plans and different mechanisms for doing the nose door I decided to build mine with the plans method for generally merging different sections with joggles. I'm going to retain foam/fiberglass sandwich construction in the door because it's big and I don't want it flexing. Like the plans, I'm going to have it's flange tuck under the flange of the canard cover, and like the plans, I will retain a structural cross bar on the back edge of the nose top where it meets the front edge of the canard cover. A diagram will help and I'll get that in here eventually. For now, I'm showing a pre-micro and post peel-ply photo of the glassing process. Once the NT/Canard Cover was glassed, I trimmed the edges to insure I had a good fit to sides and Canopy Frame/Fuselage and Canard. Next, I micro'd the portion of this full foam/glass system to the top of the canard. I did this before cutting the canard cover from the NT because I wanted to insure that with the canard fitted in place, the complete fit from nose to canopy was good as I had faired them all together. Then I re-marked the cut line and cut the NT and Canard Cover apart, first with Dremel cutting wheel on the glass and then with hacksaw blade through the foam at angle shown in the full scale drawings (to allow the canard with cover to be removed when the NT is glassed down). If you do what I did, realize that getting at the canard bolts is not possible until you make this cut and remove the NT (since I had not yet cut the door in the NT. SO: the first thing you can remove after making this cut is the NT itself (carefully from the forward end, because it's a tight fit). This also reinforces the importance of making the door large, as it's your access to the canard bolts (which will be attached and unattached many more times before the plane is flying and occasionally afterward... With these main pieces done, it was time to address the door itself. I marked and cut it out the same way I did the cut for the NT/Canard Cover, angling my cut towards the fuselage centerline to enable the NT foam to hold the door in flush position later, as I built the flange tabs described below. I chose to secure the door using 5 MS 24694 machine screws as shown in the pictures (I might put a machine screw through the canard cover lip too (we'll see in the finishing stage...). Positions for these were marked by drilling through the door and into the foam of the NT while both were on the bench (remember I've not glassed the NT on, and probably will not until the finishing stage to retain maximum access to the Nose area during the build). With these holes now marked on both pieces, I carved the foam away to allow locally glassing 4 BID thick flange tabs in the under side of the NT that will get anchor nuts for the machine screws (see figures). After insuring that the door still fits perfectly with the flange tabs, I trimmed the foam back on both pieces and glassed their under sides. 6/17/16 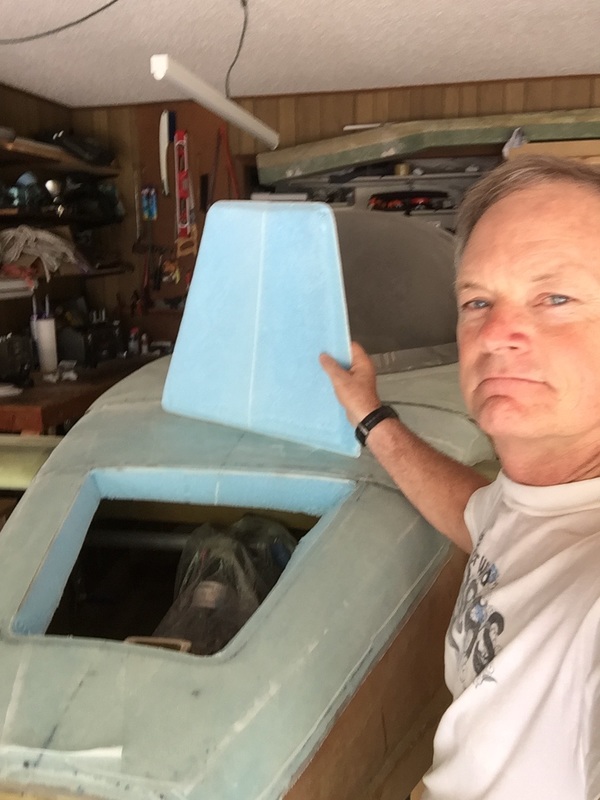
Also now can cut out the nose top hatch and begin the process of glassing the beveled edges of blue foam and building the mounting flanges for nose top anchor nuts.
A picture from much later (after flying for a couple of years...) shows how the front hatch finished up. The rear edge goes UNDER the leading edge of the canard cover, and the front is held down with 2 screws into the corner flanges of the nose top.
|
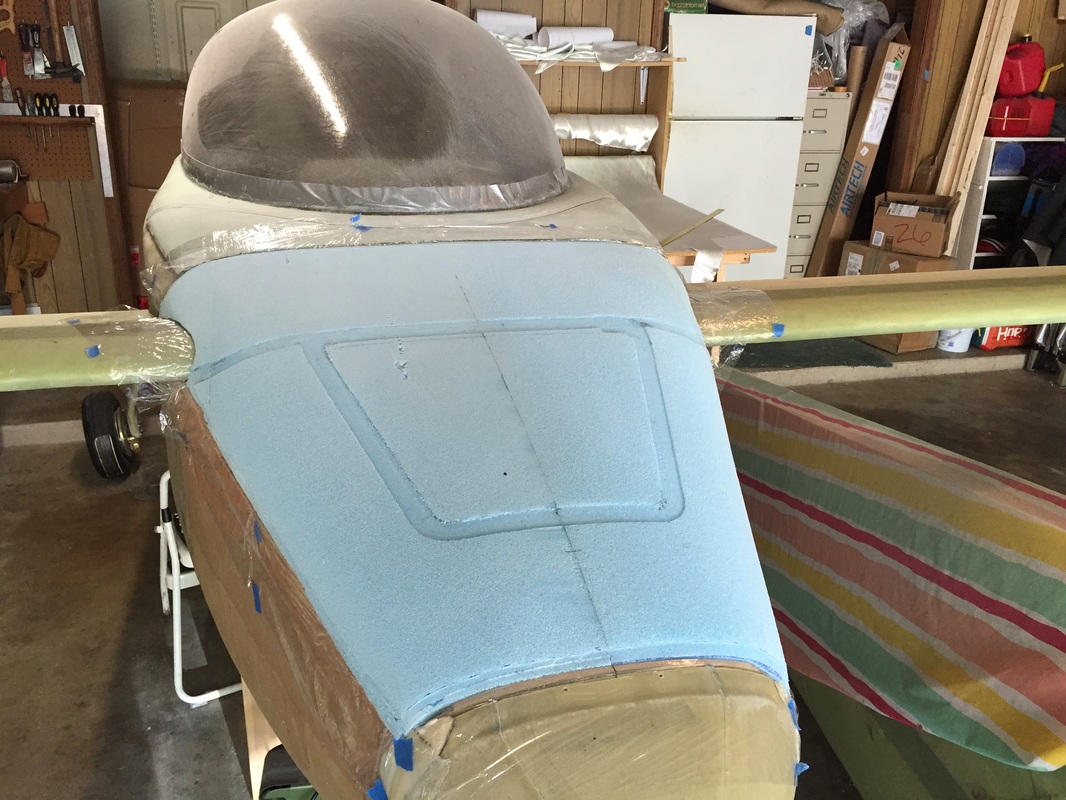
final sanding and joggles. Ready for Micro...
Peel Ply
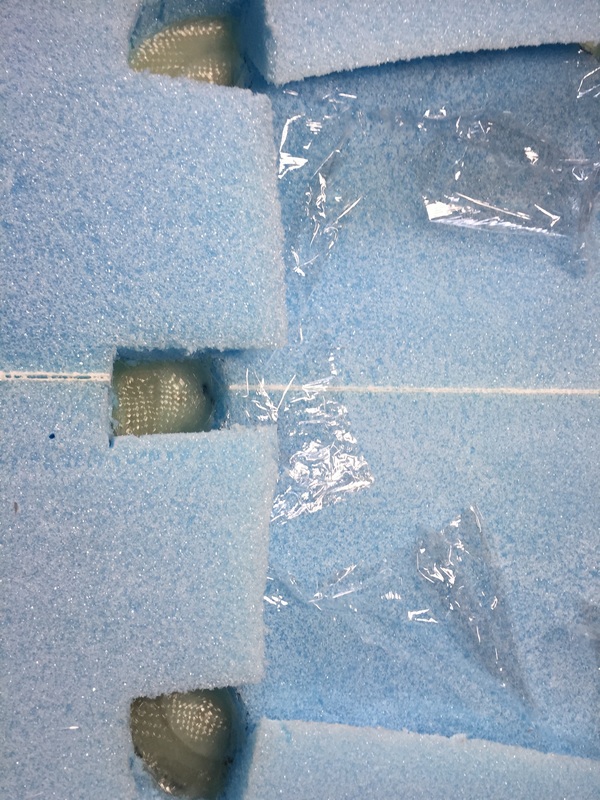
Note pallet wrap all around periphery of this glassing job to prevent anything from sticking to nose cone, sides, canard, or fuselage top...
Carefully cutting the blue foam with a hacksaw blade after using a Dremmel cutting wheel to cut the outer skin. This particular cut is between the canard cover and the nose top.
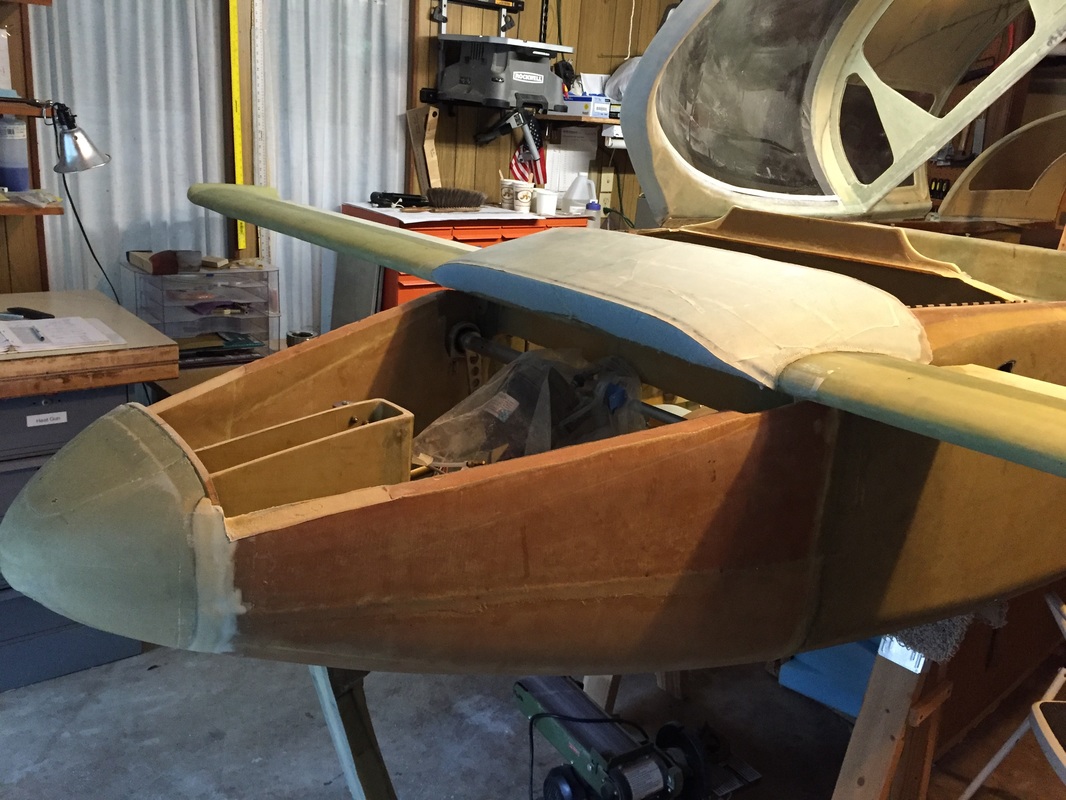
After removing the nose top (the cut shown above enables this removal). I can now glass the interior skin of the nose top and remove the canard with it's cover on and finish out the glass work for the canard cover
This is a hard picture to interpret unless you are a builder. The nose top is off the plane, upside down, and I'm looking down on what will be the inside when it's back on the plane. What I'm doing here is building the 4 BID thick fiberglass flanges to hold the hatch bolt anchor nuts. The clear pallet wrap is used to make sure epoxy does not stick to the hatch piece which is in here to make sure the flanges are positioned nice and flush with its flange.
|