Finishing Fuselage/Strake Bottom
|
Starting with the Under Side:
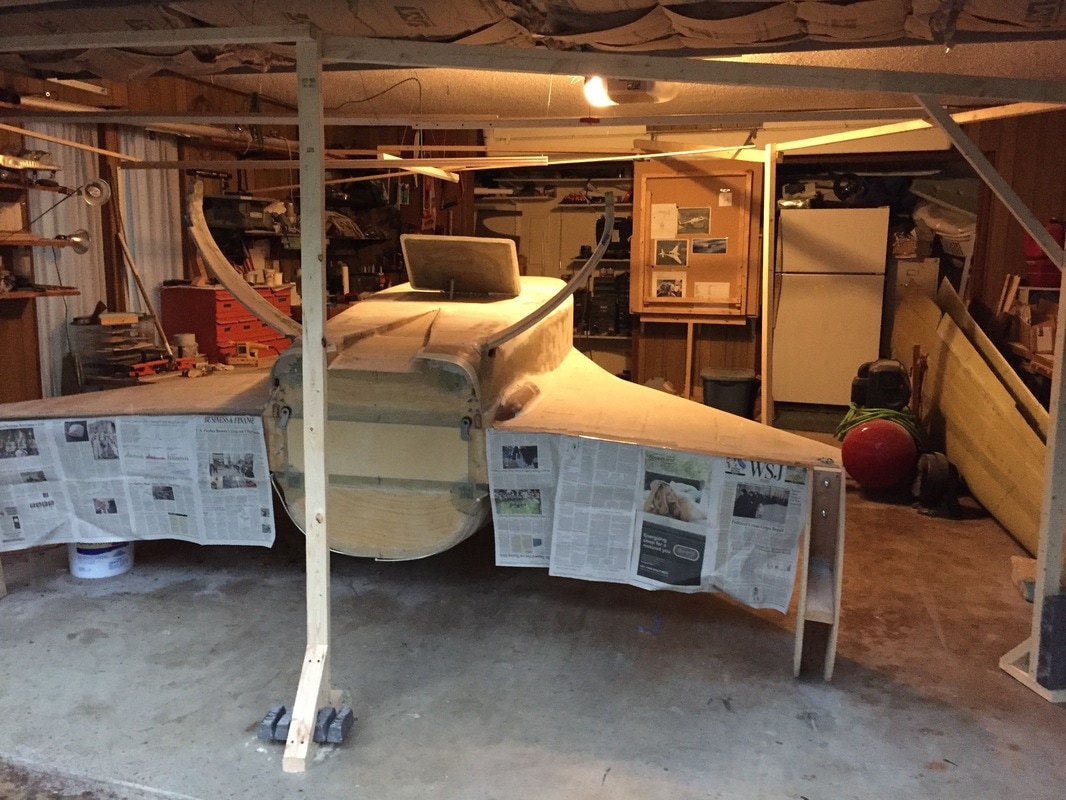
After confirming that the wings fit well with the strakes and doing a quick alignment check on wings/canard (wrapping up Ch 21) I removed wings and canard and everything not essential and flipped the fuselage back upside down and moved it back into the garage. My intention is to do the finish work on the under side of fuselage and strakes and hopefully flip it right side up for the last time... I know, I must be dreaming. I chose to start at the nose and work my way back first on the relatively flatter bottom, and then do the sides and then do the strake undersides. The nose area is so continuous however that I really had to attack the nose bottom and sides simultaneously. Note that I've still not attached the nose top, so I'm leaving some room for glassing this top section (already shaped back in Ch 13) on later. I knew that I had some broad low spots on the bottom based on over-weighting that David Pierce had admitted to when putting the fuselage bottom on. I didn't want huge areas of micro fill, so I used 4 very thin blue wing foam (easier to carve for me) pieces to fill these low spots and then micro'd around them. I used a 1x2 wooden ACS packing board with 80 grit sandpaper in the middle section where it touched the foam to get the profile on these filler foam pieces. The results were not perfect, but they feel pretty good to me. We'll see how they look when I get primer on... Then it was general micro everywhere. As with the canard I'm using West 105/206 epoxy. One thing I had to learn was how to make micro thicker than I'd been used to before. It needs to be thick enough that it won't sag when on a vertical surface, but not so thick that it can't be spread, i.e. it peels up as you try to spread it. you can relieve this by pre spreading a thin layer of epoxy, but I tried to avoid this as it just means more epoxy, more weight. I talked to others on the builder's group about this and read about it from other's sights, and I still felt like I just had to try different mixes and learn. The sides of the fuselage and the strake skins are pretty smooth already and I decided for them that I would use the West 410 filler with the West epoxy because I find that it feathers better. It takes a lot more 410 by volume to get to the same thick but not dry consistency as with micro balloons. This fill is light though, so once mixed it's a very light filler with good sticking properties into the weave and peel ply texture. Not much to say about this process. Patience and persistance required. I finally decided to prime after about 10 passes with the micro (some places on the nose got over 6 applications to learn). Paint booth constructed in garage (2x3's and 2.5 mil plastic). Then wiped everything down with slightly MEK damp paper towels to remove last powder after vacuuming. Then 1 coat of primer so far... continued below and in the right column -> 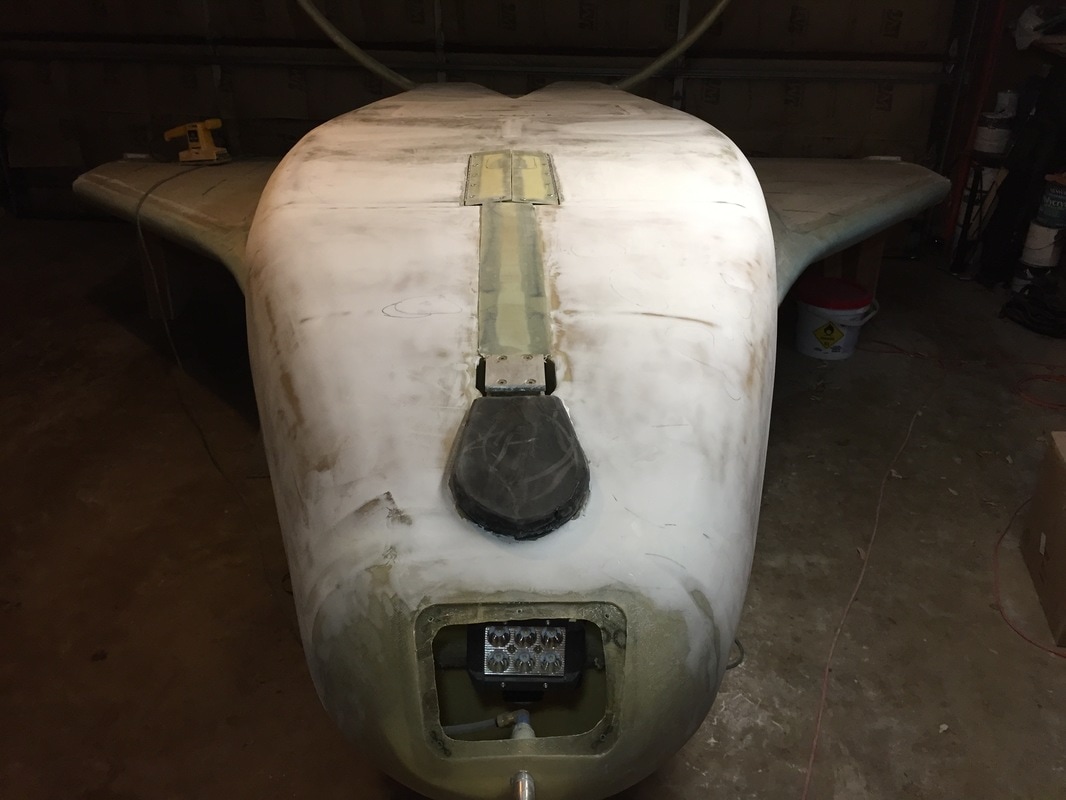
fil, sand, fill, sand, ... getting better as I go. Of course the guidance of others is true: use more fill than you think you need. Then sand almost all of it off. You have to make it look ugly to make it look good.
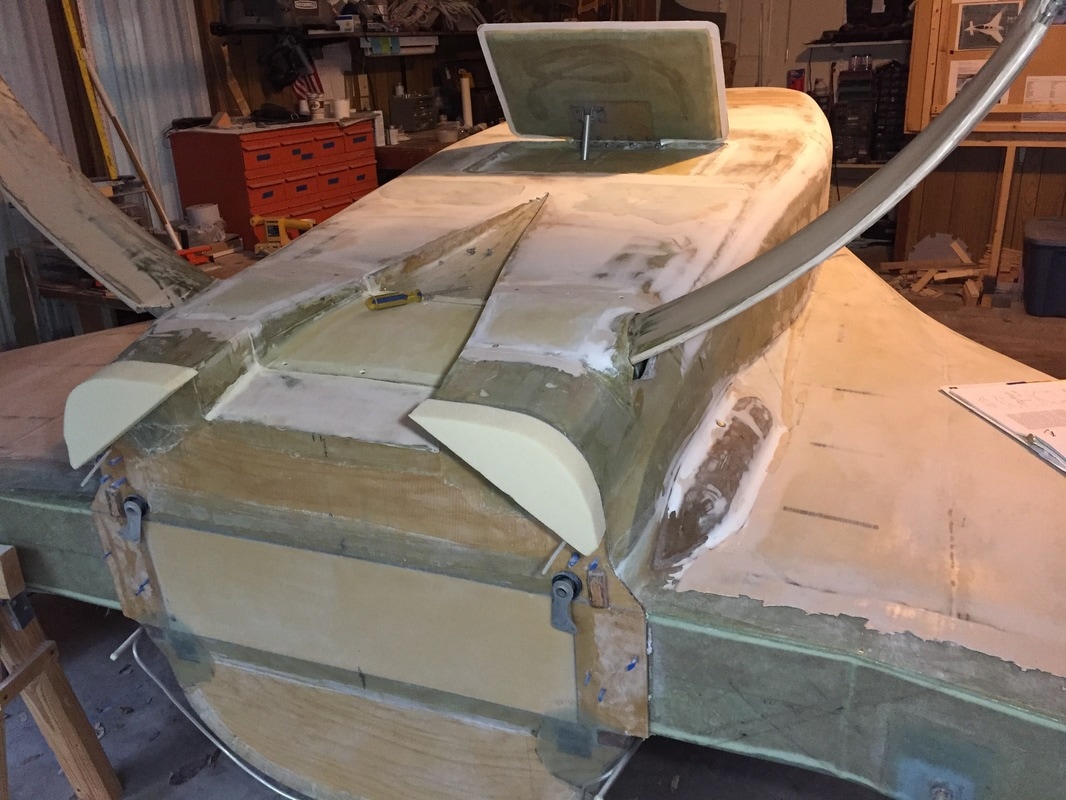
Strake Bottoms and landing gear bow getting fill and initial foam attach to firewall for cowling flange...
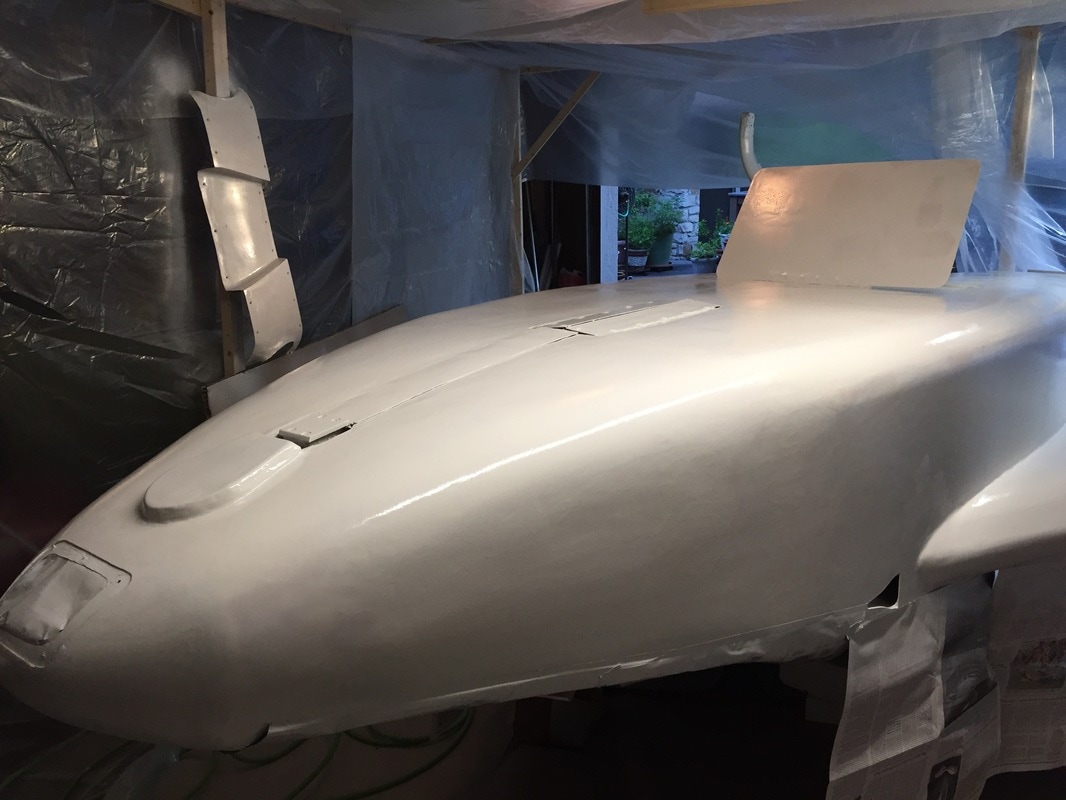
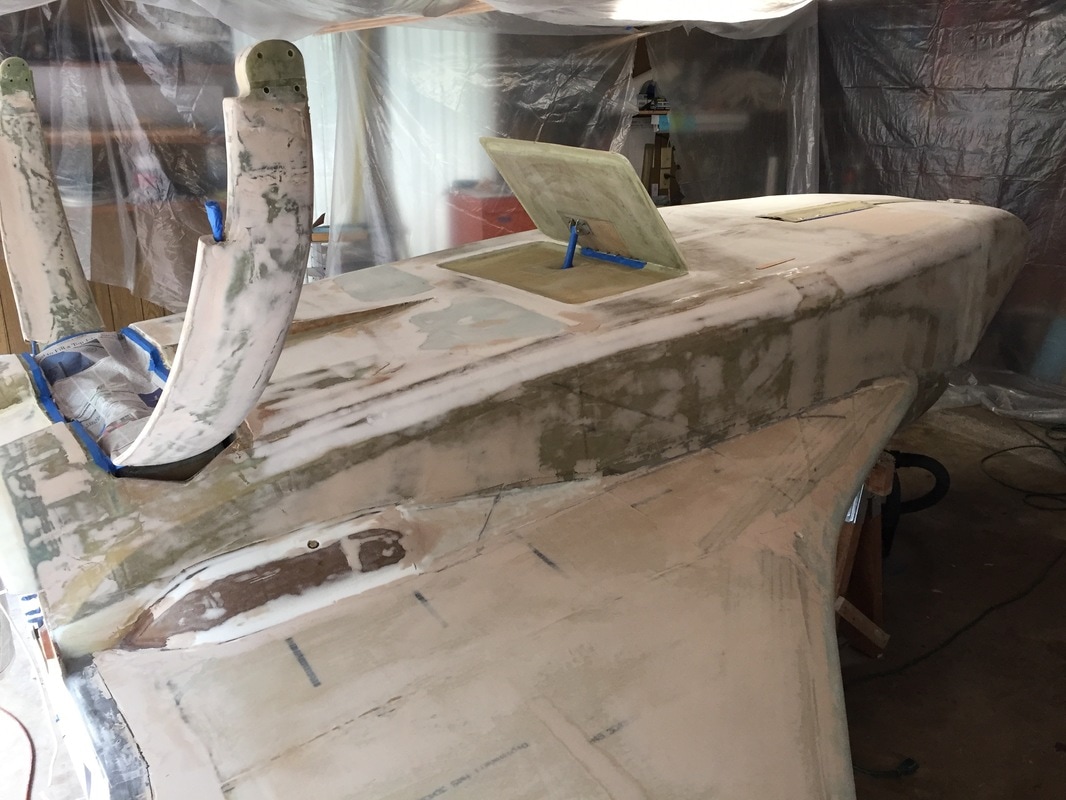
First coat of Epoxy Primer applied...and then filling low spots (round one of 3)
I deemed this good enough for primer. I can't claim it as a show plane but I still think it looks nice.
|
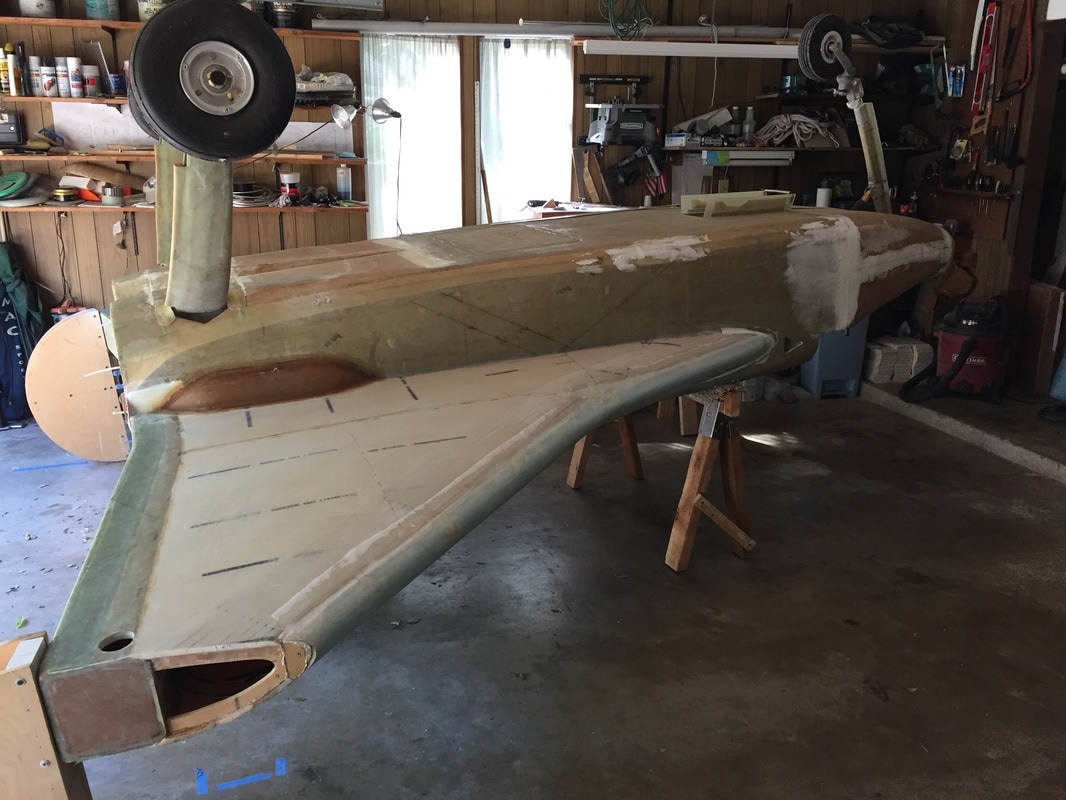
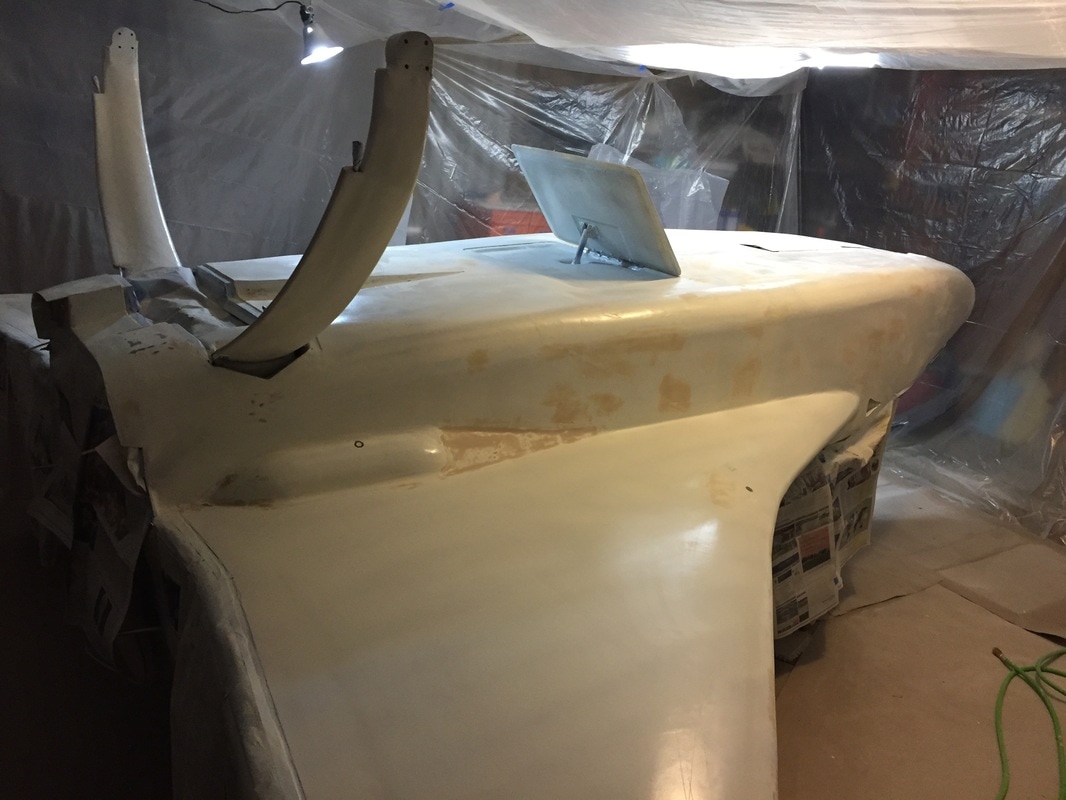
Fuselage upside down again in garage and getting started on filling/finishing at the nose...
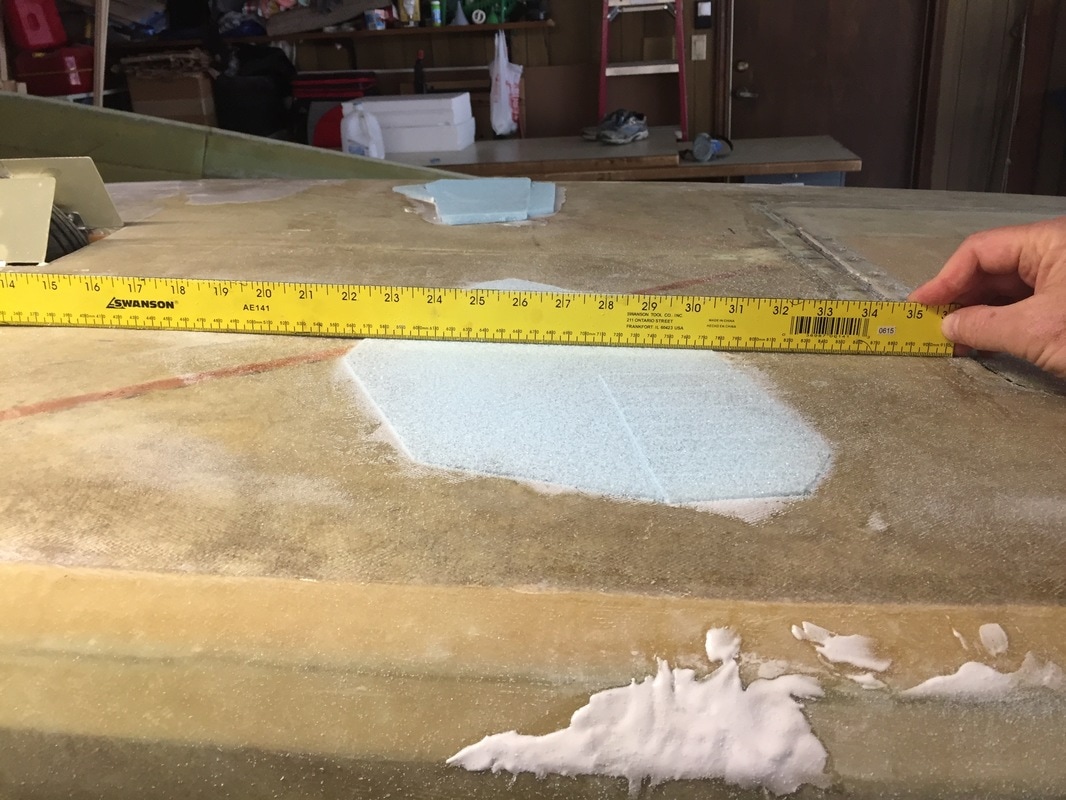
Thin foam fill during sanding process (the one on the far side has not been sanded yet, and near side isn't quite done)
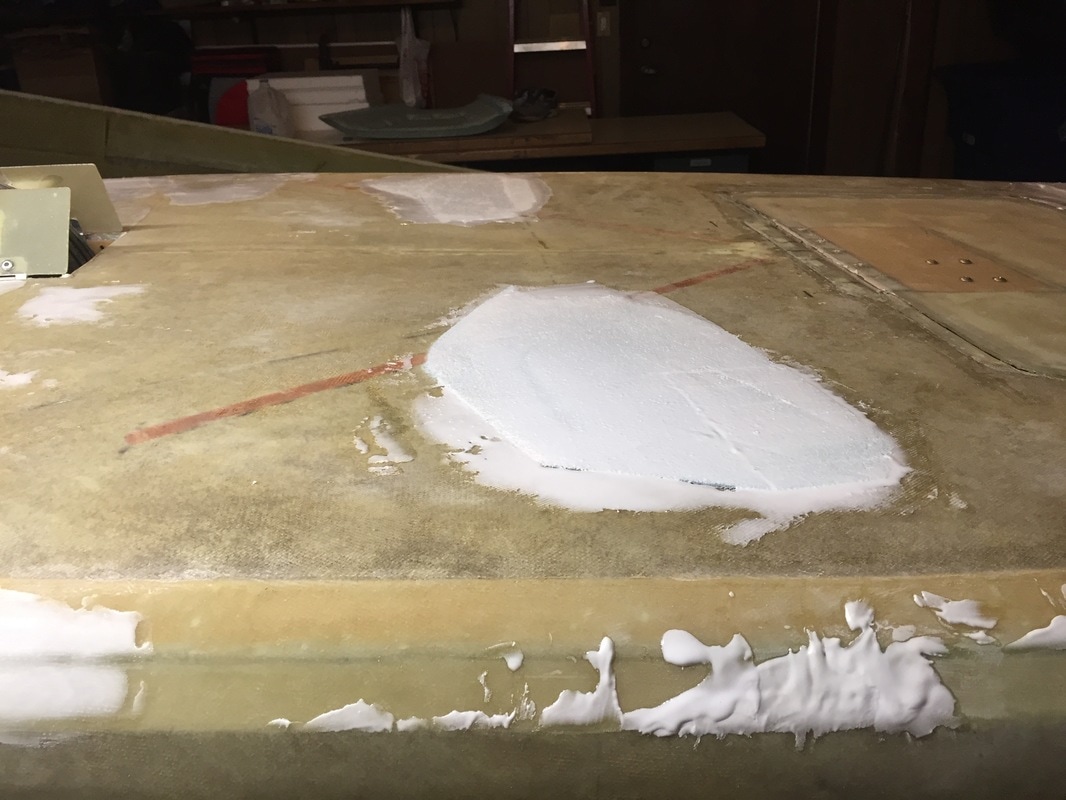
starting the micro fill around foam pieces...
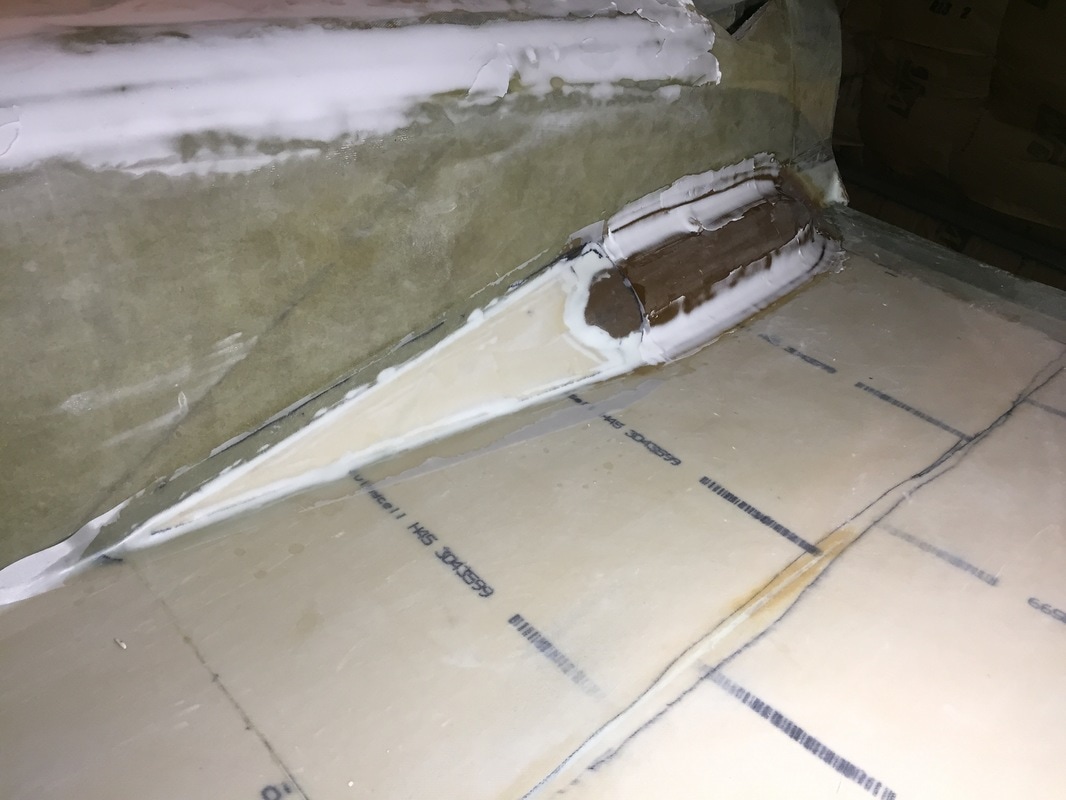
Sump fairings: I chose to use left over 3/8" PVC foam in a more flat fairing that blends in with the already small profile sumps I have.
Starting prep to primer the bottom: paint booth frame going up in garage and masking started (much more to do...)
Reached my limit on fill/sand/fill/sand... so now it's time to prime. Paint booth plastic is almost done and everything is masked off.
With a single coat of primer on I can see a number of things that still need work:
- I found a few spots where I could have done a better job with the micro fill to eliminate the UNI weave pattern. Not a big deal to fill now, and continue but I'll be more diligent on the top side and wings. - I've got some smoothing to do on the sump fairing which I knew but really couldn't appreciate as well until I had the uniform white on it. - There are some spots in various places along the fuselage bottom that despite effort, are not as smooth as I'd like. This really speaks to two things: a) form the foam/glass surface as smooth as possible when building and b) use one or two large applications of micro and sand almost all of it off, instead of lots of local fix/and smooth steps. The latter takes a lot longer, and it's really hard to get these little patches to smooth in if their hardness is not exactly equal to the previous filler. On the 3rd coat of primer, I found that I was not getting as glossy a finish. The primer was coming out fine, but was not coalescing well on the surface to make a continuous shiny surface. Causes: - I'd forgotten to replace the air dryer in the compressor line before the hose - I'd not set up the spray gun as well as previously and was getting heavier spray on the edges of my "fan" than in the middle. I sanded all this off and did a new 3rd coat that looked much better. It still needs fine grid sanding before paint, but that will happen after she fly's some. |
|
With the bottom of fuselage and Strakes done, it's time to re-mount the wheels/brakes and flip it back over. There's a lot of options to work on at this stage so I'm splitting time between finishing the top/canopy/strakes and generally finishing the canopy/TB with it's lift getting installed, and starting to get ready for electrical. I'll publish more here when I get into the finishing element of these options.
|
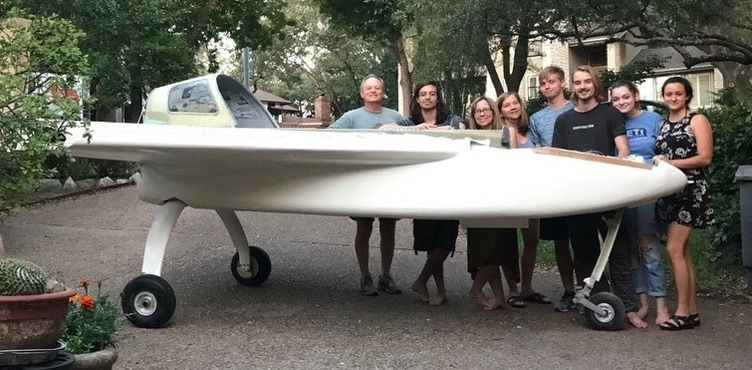
Family and friends after flipping the Cozy back right side up...
|
Last updated 6/13/17